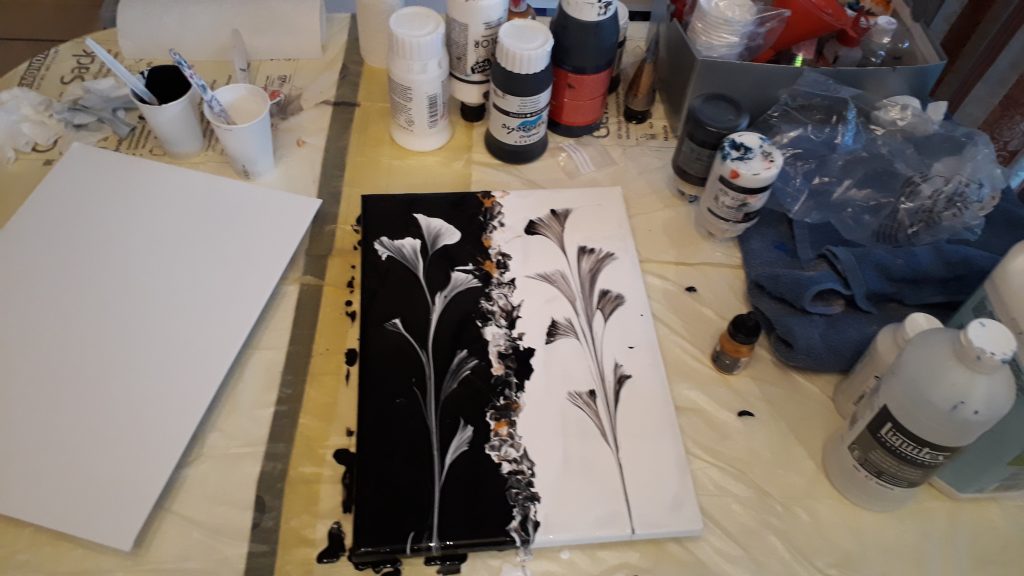
The first time I tried acrylic pouring, I was so nervous about just pouring the paint on the canvas. Paint was dripping everywhere, my colors where layered upon each other in a cup, and I had no idea if all the work that I had put into the preparation would pay off. My hands looked like I had just lost a battle with a rainbow. But then—once I was brave enough to pour the color on the canvas —I saw something almost magical. Swirling patterns, soft color transitions, and details I could have never painted with a brush.
Acrylic pouring is one of those art techniques that looks deceptively simple but has endless possibilities. Whether you’re aiming for bold, dramatic cells or soft, dreamy marbling, the right technique can make all the difference. In this guide, I’ll walk you through the techniques, share a few tricks I’ve learned (sometimes the hard way), and help you avoid common pitfalls so you can enjoy the process without unexpected brown puddles!
The Dirty Pour: A Beginner-Friendly Classic
- This simple technique involves layering different colors of paint into a single cup and then pouring the contents onto the canvas, resulting in a beautiful blend of colors.
- Variation: Try a “layered dirty pour,” where you carefully layer the colors in the cup to create a more structured design.
- Tip: Don’t mix the paints in the cup, or you’ll end up with a muddy mess!
The Flip Cup:
- A fun variation of the dirty pour is the flip cup. It involves placing the canvas on top of the paint-filled cup, flipping it over, and then lifting the cup to release the paint.
- Variation: Try tilting the canvas in different directions as the paint flows out to create different patterns.
- Tip: Use a thicker paint consistency to prevent the colors from blending together too much. Also, do everything super slowly. Don’t rush the paint, don’t tilt too much, and lift the cup slowly.
The Puddle Pour:
- Create individual puddles of different colors on the canvas, then tilt the canvas to let the puddles flow and merge.
- Variation: Use a palette knife to gently swirl the puddles together for a marbled effect.
- Tip: Experiment with different puddle sizes and placements to create unique compositions.
Dutch Pour:
- This technique uses a hairdryer or straw to blow the paint across the canvas, creating delicate, organic patterns.
- Variation: Use a stencil to create a more structured design with the blown paint.
- Tip: Work in a well-ventilated area, and be careful not to blow the paint too forcefully, or you’ll end up with a splattered mess. Not only on your canvas but also on your furniture. Been there, done that.
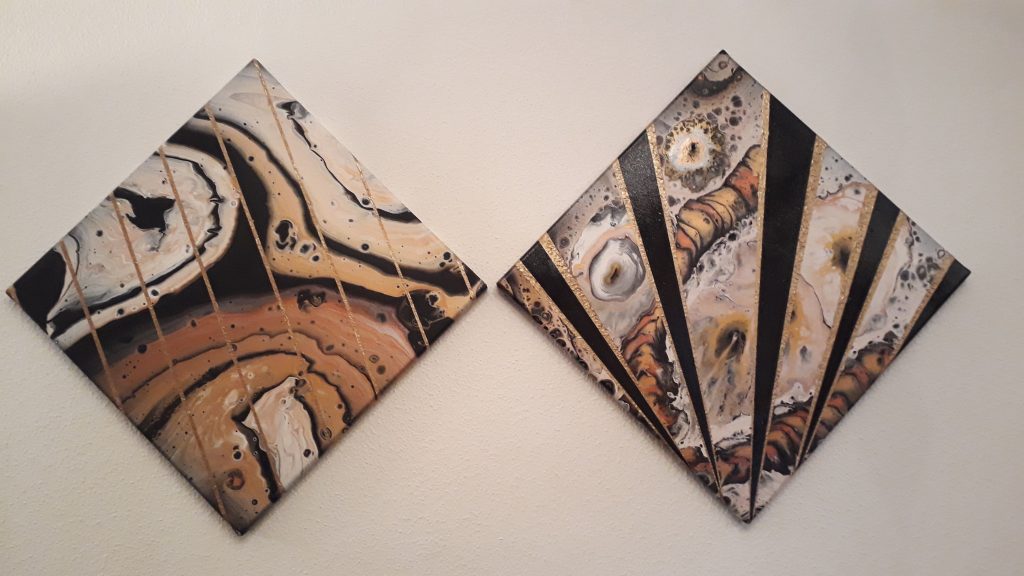
String Pull:
- A string is dipped in paint and then dragged across the canvas, leaving a trail of color behind.
- Variation: Layer multiple strings with different colors for a complex design.
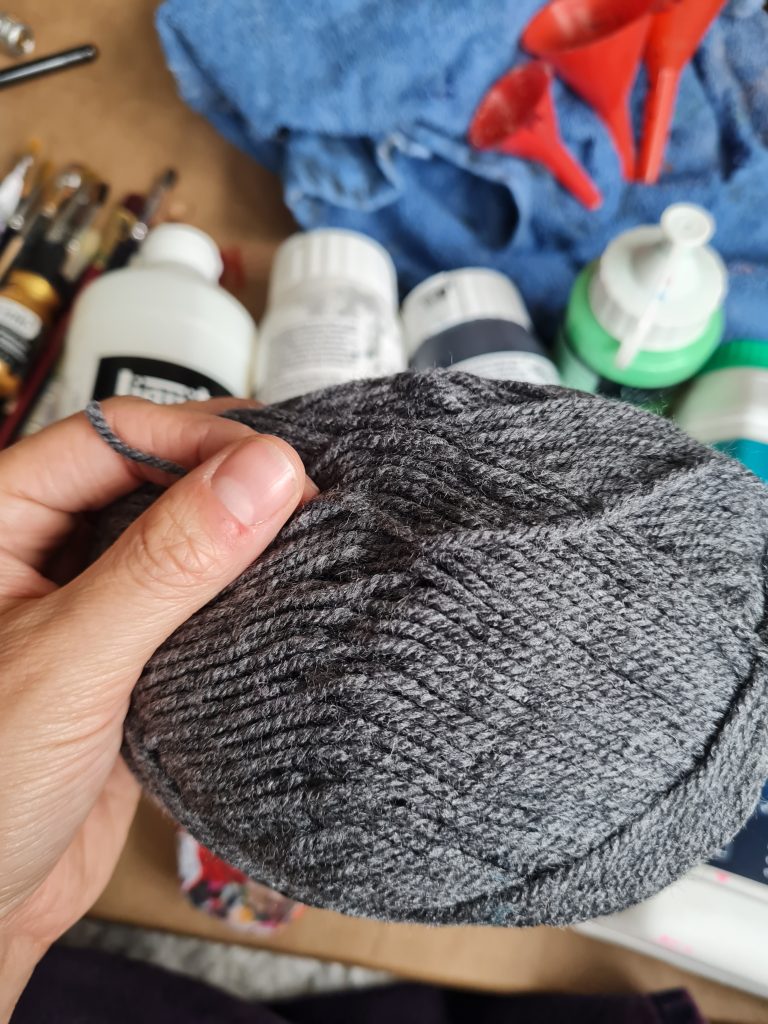
- Tip: Experiment with different types of string (yarn, twine, etc.) to create varied effects. For me, personally, a thicker yarn worked the best as it could contain more color than thin yarn. It’s perfect for a feather design.
Air Swipe:
- This technique uses a blast of air (from a hairdryer or air compressor) to move the paint around the canvas.
- Variation: Use stencils to create shapes with the air.
- Tip: Control the air flow to create detailed swipes or broad and chaotic swipes. Only use cold air if you are using a hairdryer.
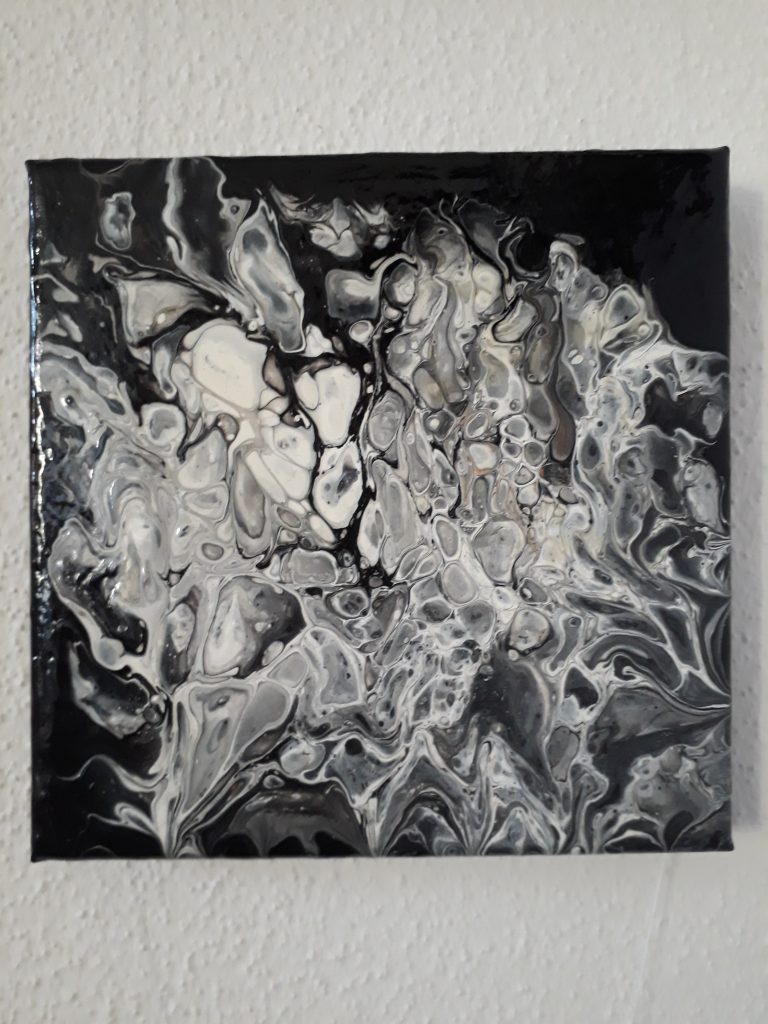
Swipe:
- After pouring your paints onto the canvas, use a tool like a palette knife or piece of cardboard to “swipe” a layer of paint across the surface, revealing the colors underneath and creating cells.
- Variation: Try using different swiping tools, like a damp paper towel or a chain, to create different textures.
- Tip: Use a contrasting color for the base layer to make the cells really pop.
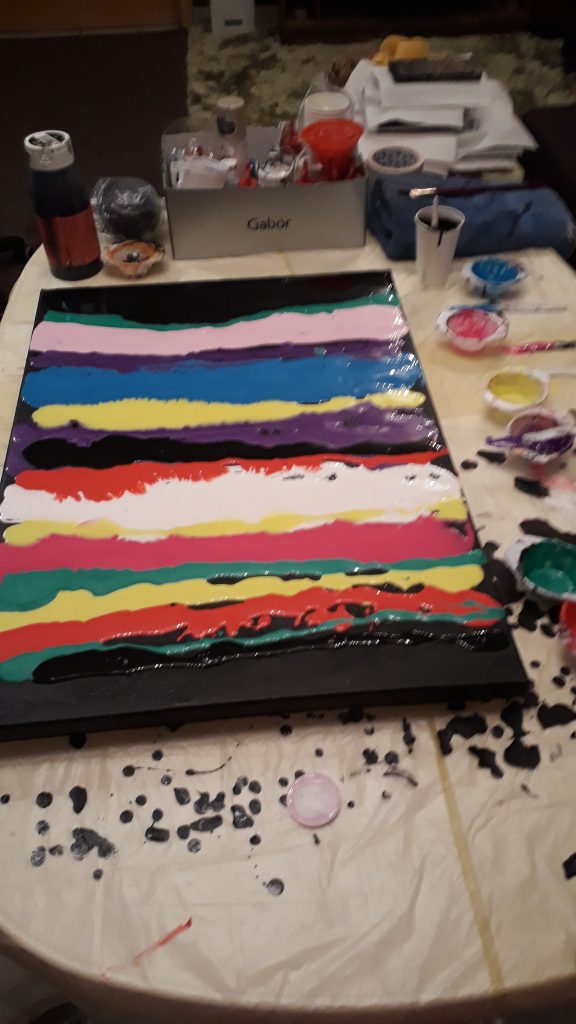
In this picture I used a damp kitchen paper and slowly pulled it over the prepared colors that I put in lines above each other on a canvas that was also prepared with a white base.
Bloom Technique:
- This technique involves pouring a “bloom” of color onto a wet canvas, which then spreads and creates interesting patterns. Wet canvas means: You start with a base of white or black color on the canvas, that was also prepared and mixed with pouring medium and water. You need a rather thick coat of paint. And then you can start pouring other (also mixed and prepared) colors on that coat of paint.
- Variation: Experiment with different bloom recipes (different ratios of paint, medium, and water) to create different effects.
- Tip: Once all the color that you want is on the canvas or on one puddle, you can either tilt the canvas, blow the color with your mouth or straw, or gently move it with another technique.
Kiss Pour:
- This involves pouring two colors of paint close together on the canvas, allowing them to “kiss” and blend.
- Variation: Tilt the canvas to encourage the colors to flow and mingle.
- Tip: This is a great way to create subtle gradients and color transitions.
Straw blowing technique:
- Use a straw to blow the paint across the canvas, creating organic, flowing designs.
- Variation: Use a stencil to create a more structured design with the blown paint.
- Tip: Work in a well-ventilated area, and be careful not to blow the paint too forcefully, or you’ll end up with a splattered mess.
Spinning Techniques
- The canvas is placed on a spinning device (like a Lazy Susan or record player), and paint is poured onto it as it spins, creating radial patterns.
- Variation: Tilt the spinning surface or use different spin speeds.
- Tip: This is a very fun technique, but it can be very messy, so be prepared to put on more protection.
Experimentation is Key: Combining Techniques for One-of-a-Kind Results
Don’t be afraid to experiment! The best way to learn what works for you is to try different techniques, colors, and materials. Acrylic pouring is all about embracing the unexpected, so let your creativity run wild!
Matching the techniques is also a fun way to create new styles. The best way to find your artistic voice is to experiment with the combinations that make you feel good.
Trying out different techniques is fun. I always use the colors that I don’t like too much, or leftover colors as well as already used canvasses.

