Acrylic pouring is an exciting art form, but it can come with its share of challenges. Let’s explore some common issues and their solutions, including the ones you’ve mentioned and some additional problems:
Cracking:
- Cause: Using too much water, low-quality pouring medium, or applying paint too thickly.
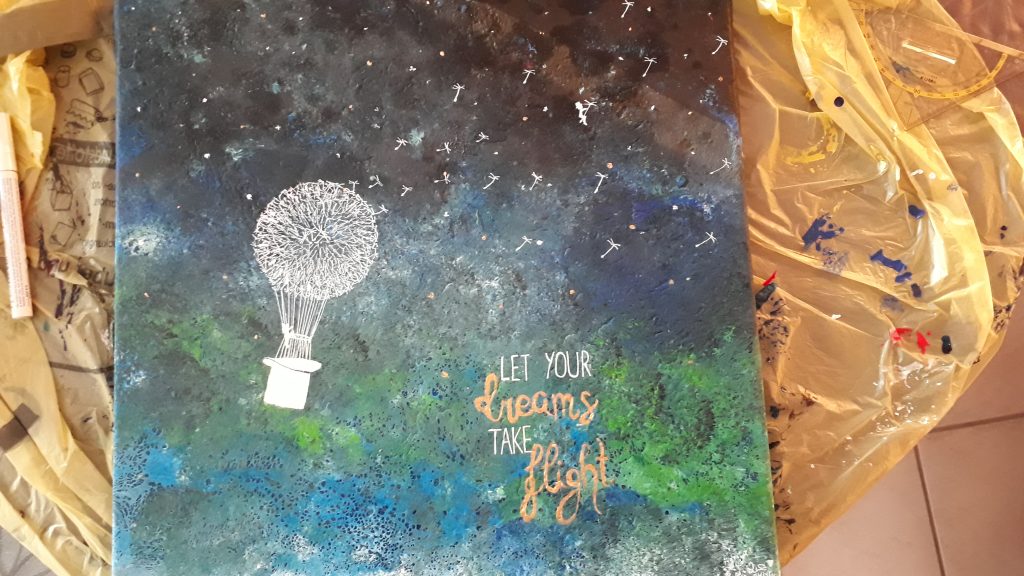
- Solution: Use a high-quality pouring medium like Floetrol or Liquitex Pouring Medium. Apply paint in even layers and avoid over-thinning. Be patient with drying times, especially for thicker layers. You can try to “fix” the cracks with a thin layer of paint, but it will still be partially visible. My personal advice: Use gold to fill the cracks and embrace the imperfection.
Air Bubbles:
- Cause: Air trapped in paint during mixing.
- Solution: Let paint sit for a few minutes after mixing. Use a torch or heat gun to gently eliminate remaining bubbles.
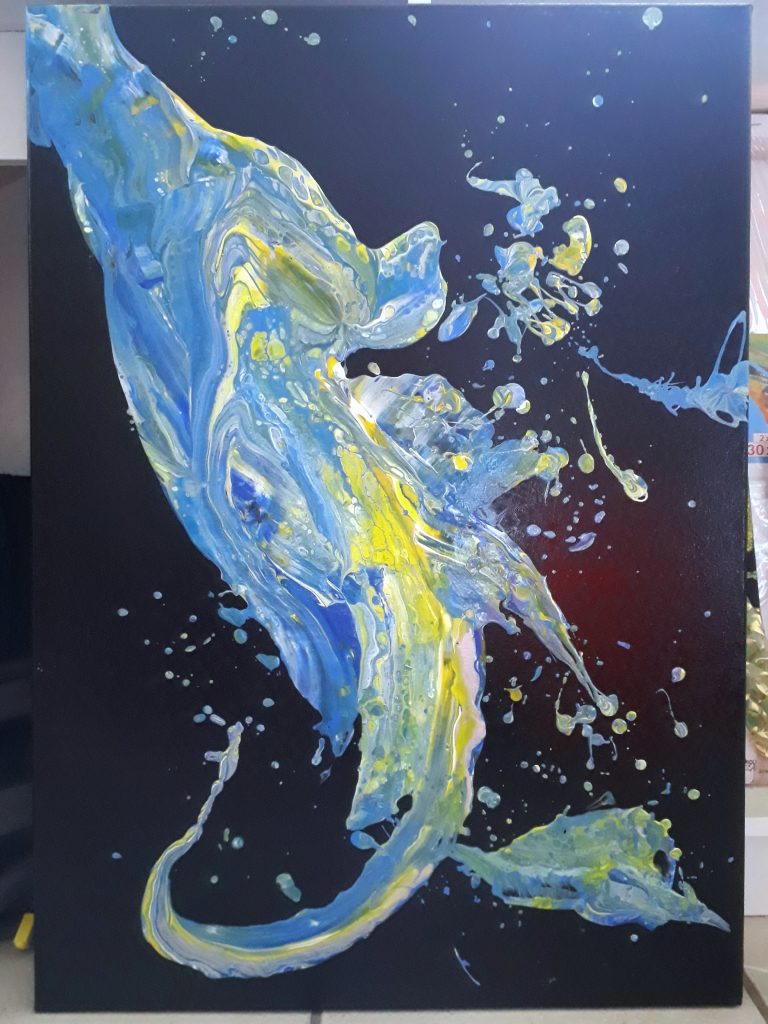
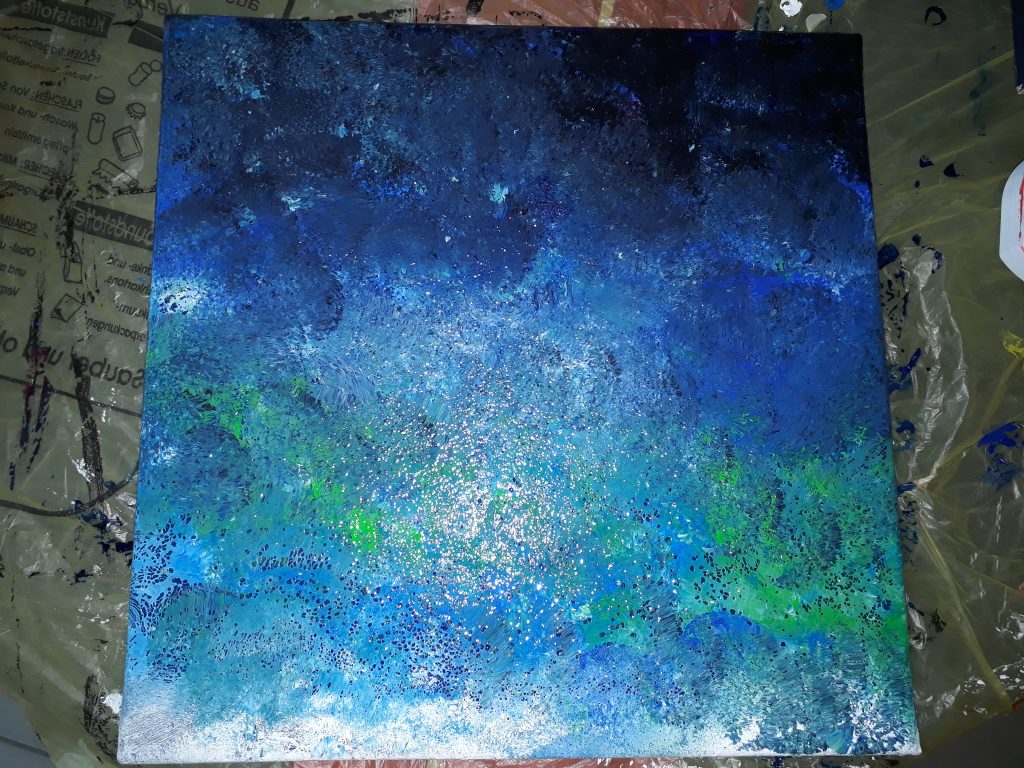
If it is too late and it already dried, I can only speak from personal experience: Try do make the best out of it:
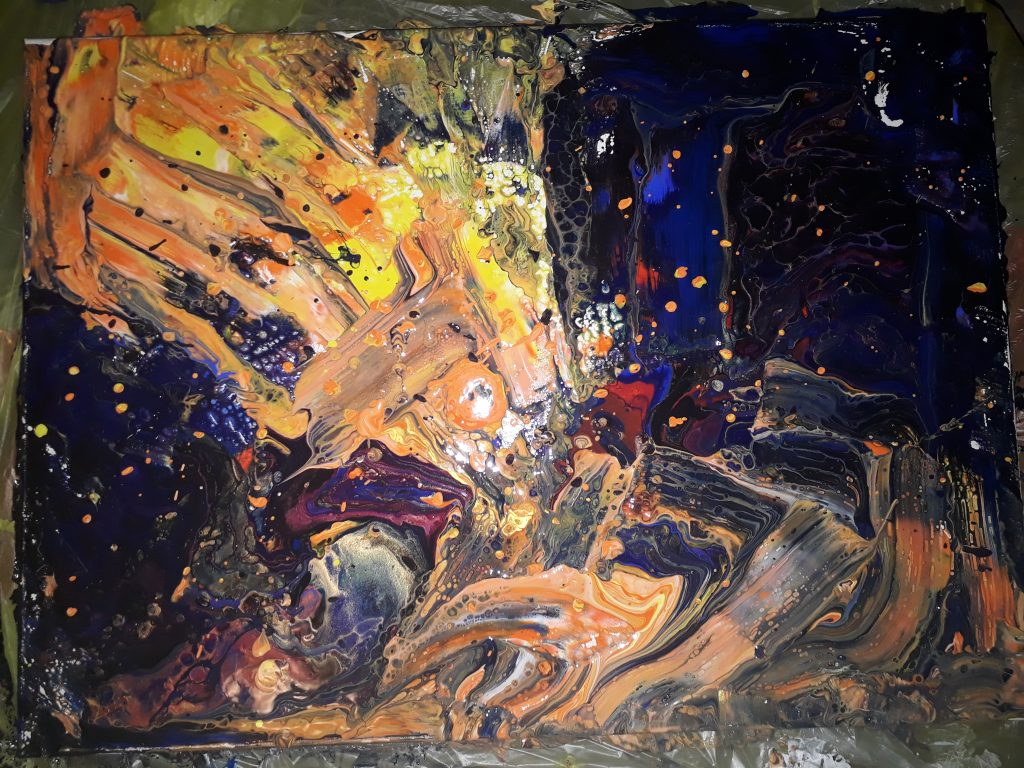
Muddy Colors:
- Cause: Over-mixing paints or using too many colors that blend easily.
- Solution: Avoid over-mixing and be mindful of color combinations. Consider using a color wheel to choose complementary colors.
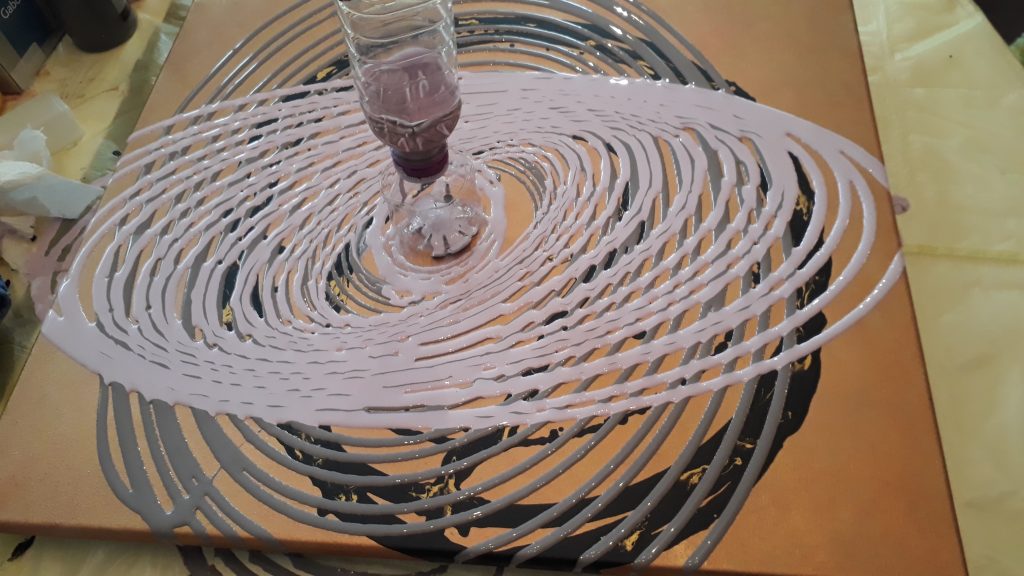
Uneven Surface:
- Cause: Unleveled canvas or uneven paint application.
- Solution: Ensure your canvas is on a flat, level surface. Use a level tool to check. Apply paint evenly and use a spreader or spatula to smooth out uneven areas.
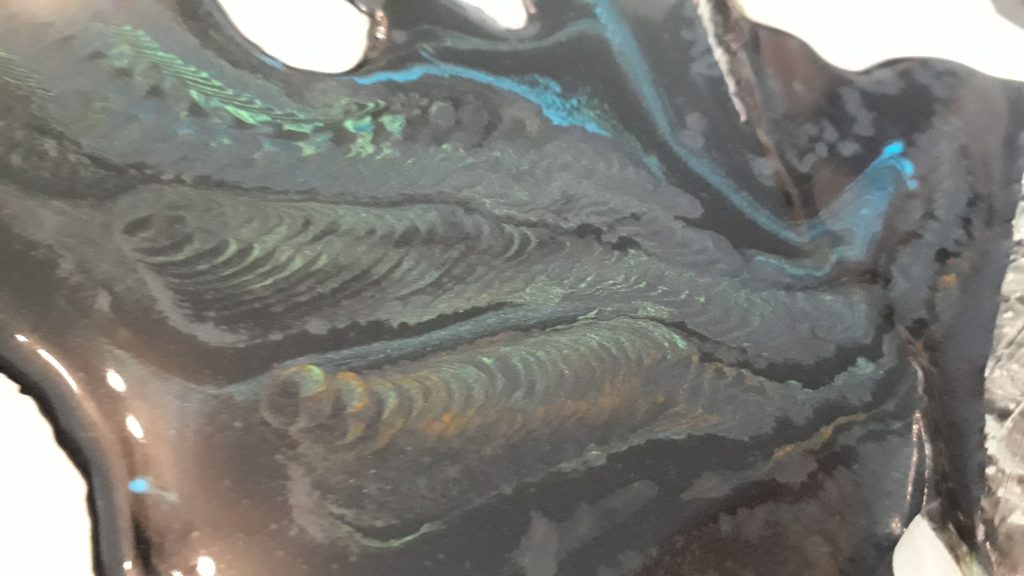
Lack of Cells:
- Cause: Insufficient silicone oil or paint too thin.
- Solution: Add a drop or two more silicone oil and gently stir. Alternatively, add more paint to thicken the mixture.
Paint Peeling:
- Cause: Dirty canvas surface.
- Solution: Properly clean and prepare the canvas before pouring.
Paint Too Thick:
- Cause: Insufficient thinning or using heavy body acrylics without proper dilution.
- Solution: Add more pouring medium or water gradually until you achieve a honey-like consistency. Mix thoroughly.
Paint Too Thin:
- Cause: Over-dilution or using low-quality paints.
- Solution: Add more of the original acrylic paint to thicken the mixture. Let it sit for a few minutes as it may thicken slightly on its own1.
Colors Not Showing Against Background:
- Cause: Using colors with similar opacity or density to the background color.
- Solution: Test your paints for opacity by painting over a black line on white paper. Choose more opaque colors for contrast. Consider using metallic or pearl colors for added vibrancy1.
Remember, acrylic pouring is about experimentation and learning. Don’t be afraid to make mistakes – they’re valuable learning opportunities. Brands like System3 and Lukas are recommended for their high-quality pigments and resistance to cracking1.
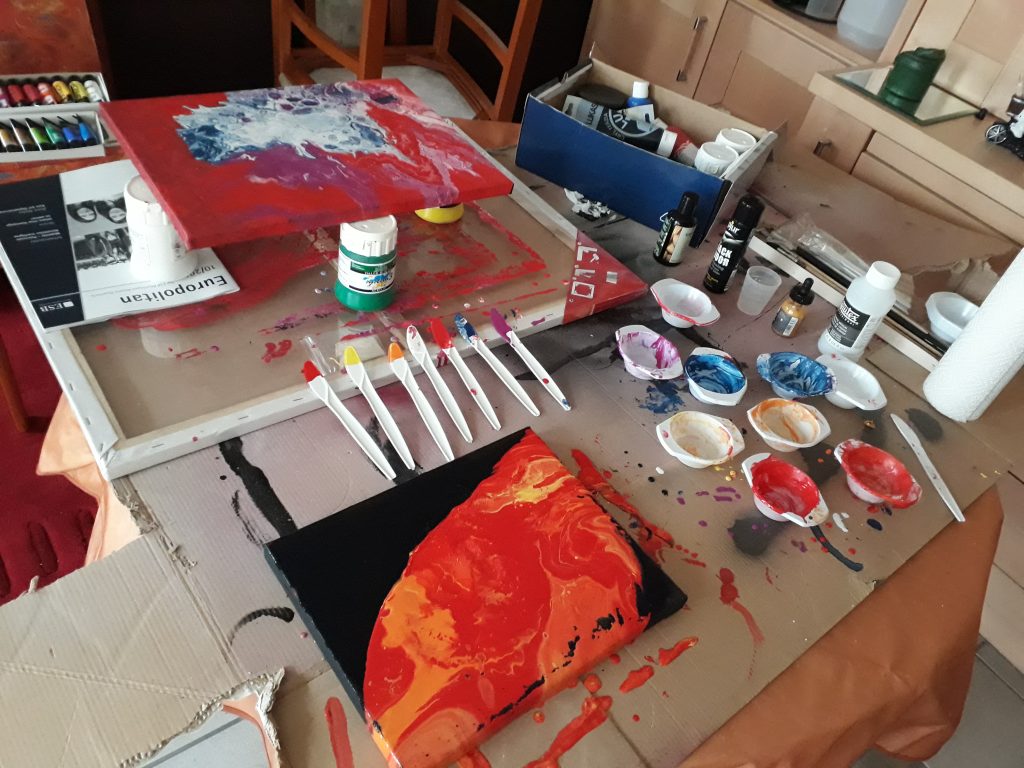
For best results, prepare your workspace carefully, use quality materials, and be patient with the drying process. Happy pouring!
