Looking for creative clay diy projects that keep little hands busy and imaginations growing? These fun and simple air dry clay projects are perfect for beginners and make wonderful keepsakes. Whether you’re planning a weekend craft session or searching for an easy air dry clay toddler craft, this guide will walk you through ten adorable animals step by step.
These ideas are ideal clay crafts for kids, and most of them use basic shapes like balls, cones, and clay “worms.” If you’re new to diy air dry clay, don’t worry these are truly easy air dry clay crafts for kids. Let’s get started!
Materials
You will only need some basic clay sculpting tools and some air dry clay to make these animals.
I use two different types of air dry clay. The colored clay, that you see in the images below, is air dry foam clay. This is a quick drying clay that is avalible in many different colors. It becomes soft foam once it dried.
The other type of clay, that I used, is regular air dry clay from DAS. Either in white or in earth color. This clay dries slowly and can be painted, once it cured. It will become very rigid once it has dried fully.
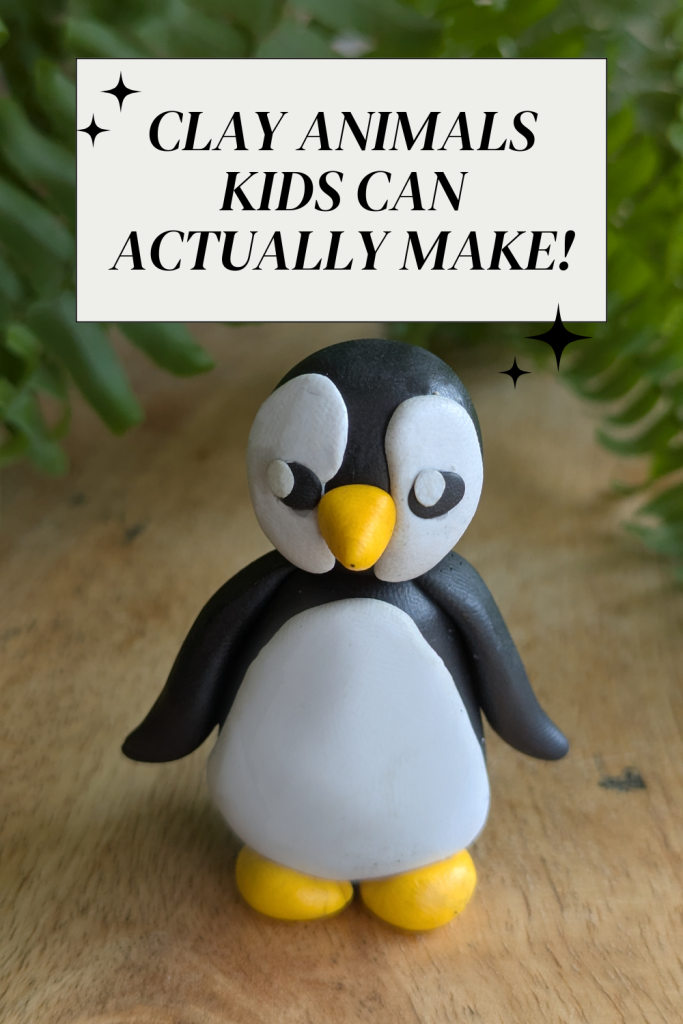
1. Penguin

Almost every single one of the animals on this list is made by using very simple shapes and then refining them.
Step-by-step instructions:
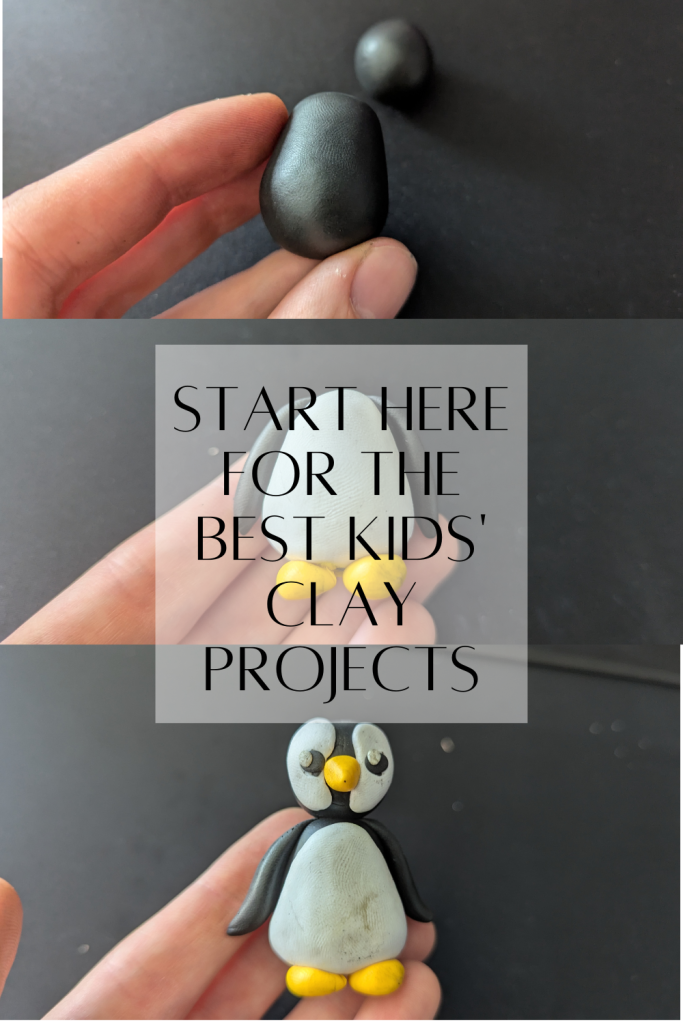
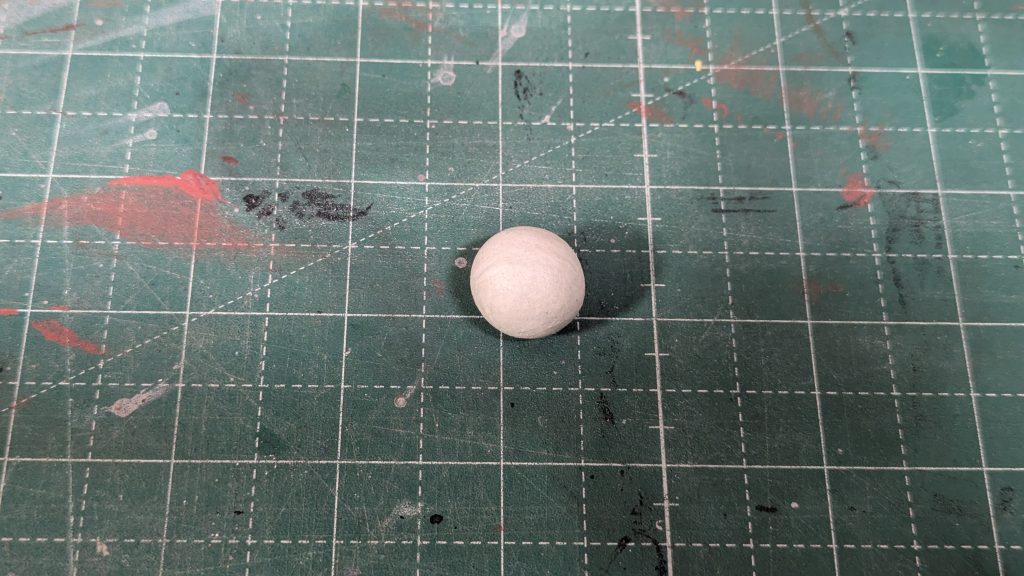
- The head of the penguin is a simple ball.

2. And the body is a simple bigger ball that is slightly elongated and tapered down on one side.

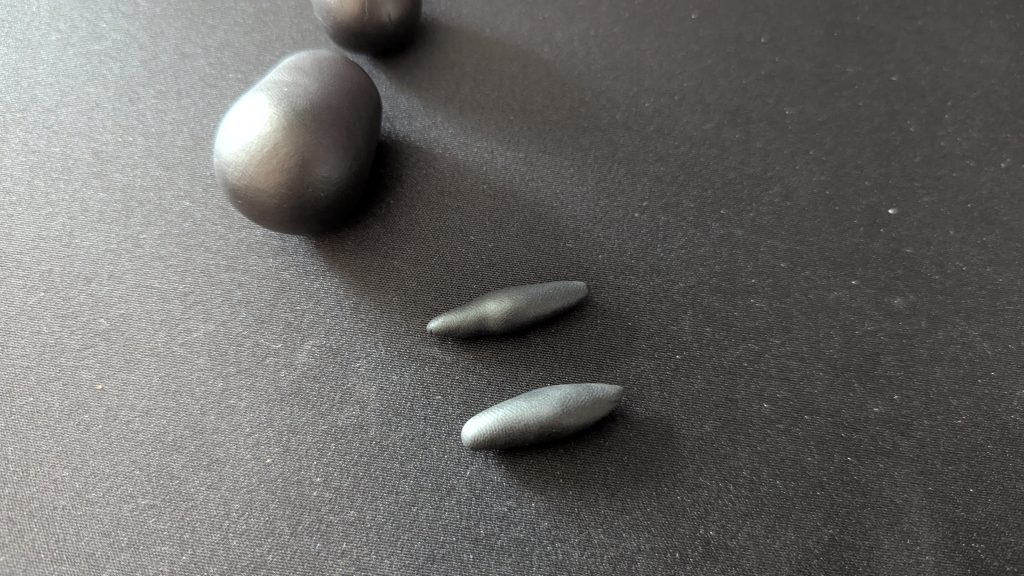
3. The wings of the penguin are just two clay worms that are slightly thicker on one end.
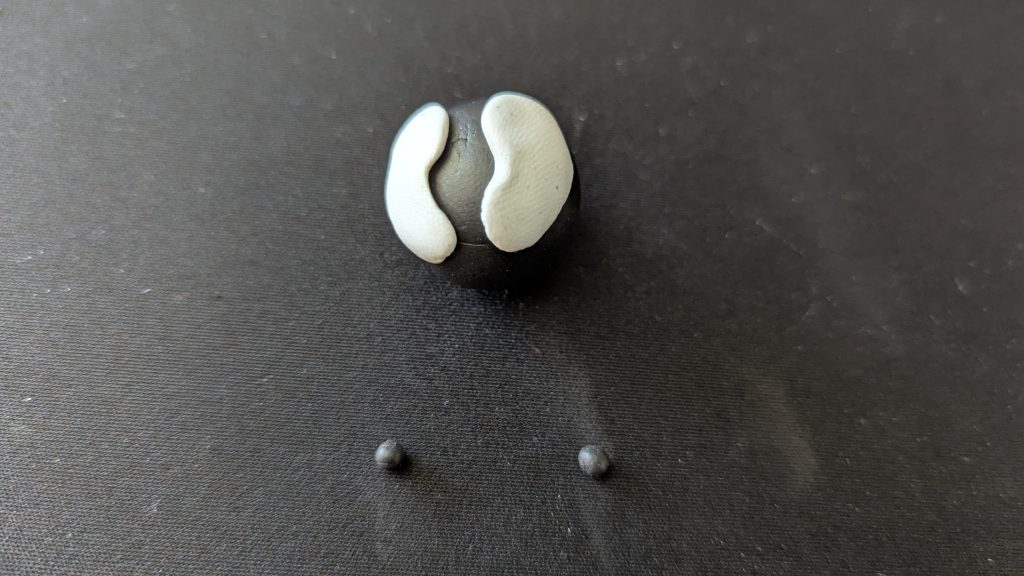
4. Roll out a piece of white clay and use it to make two patterns for the face and one big flat oval shape for the stomach.

5. Attach the pattern to the face and add two small black balls to the pattern as eyes.

6. Add the large white shape to the stomach of the penguin.

7. Finally, add some feet and a beak that are made out of two yellow clay balls and a cone shape.


8. And then, put it all together.

Let your penguin dry completely before painting or sealing. This is one of the most popular air dry clay crafts for kids easy enough for preschoolers with supervision.
2. Owl
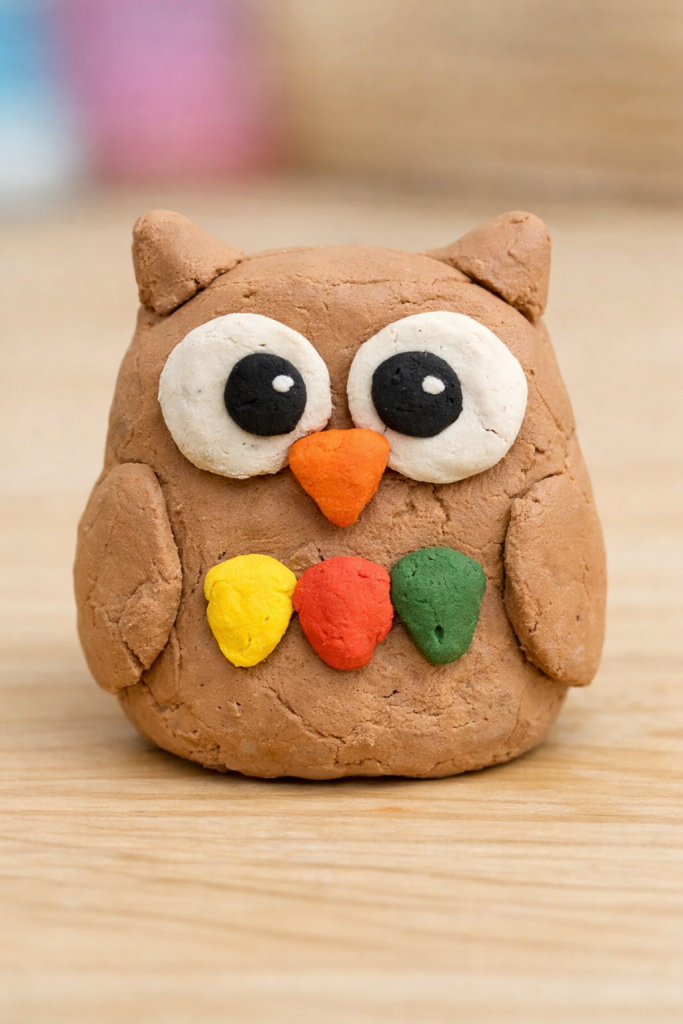
How to make it:
- Roll a large ball for the body.
- Slightly flatten the front.
- Add two small balls for eyes and press them gently.
- Create tiny flattened circles for the eye details.
- Add a small triangle for the beak.
- Attach two small flattened teardrop shapes for wings.
Owls are fantastic clay art projects for practicing textures.
3. Snake
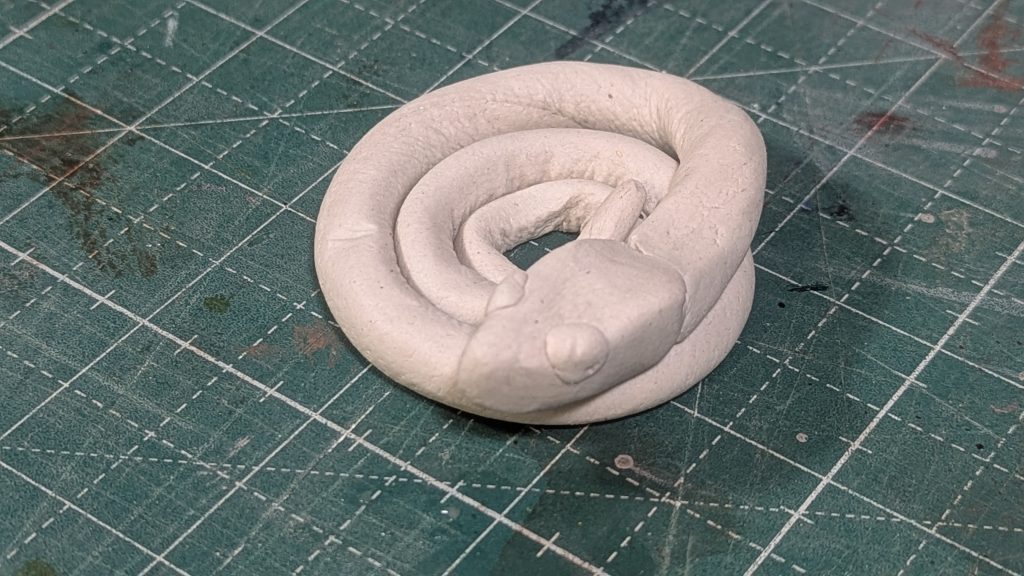
Steps:
- Roll a long clay worm.
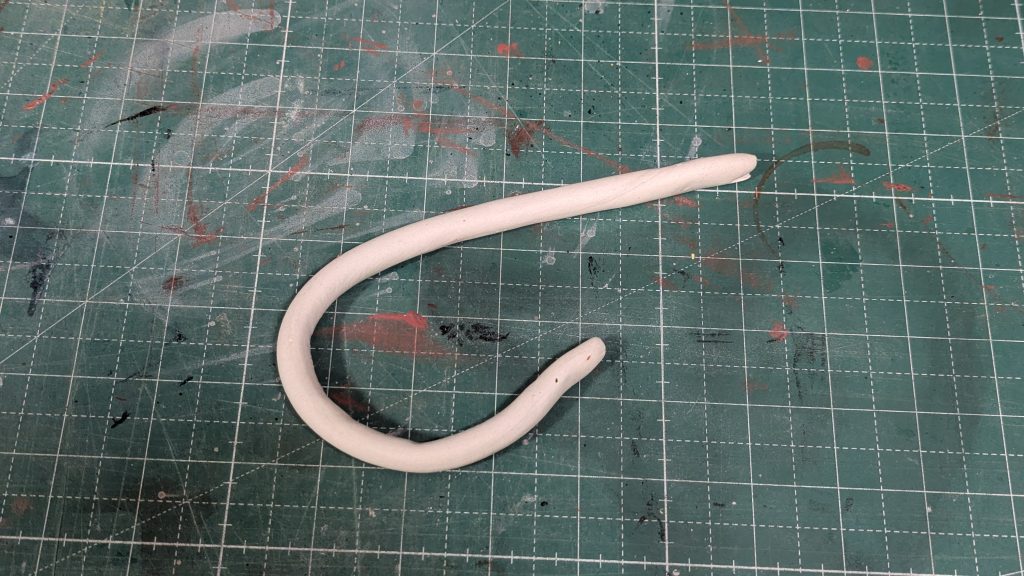
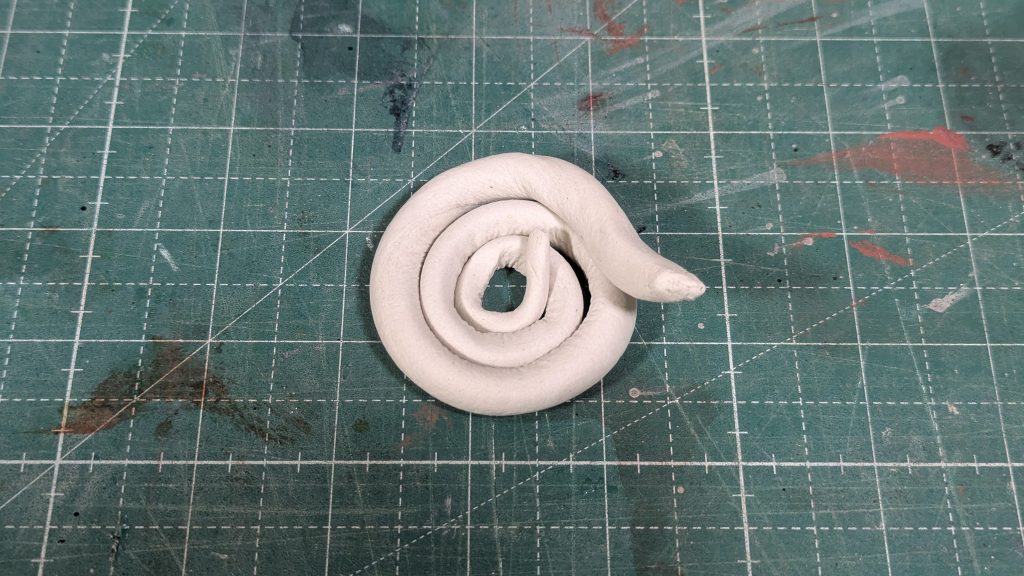
2. Slightly taper one end for the tail. and rol the clay worm up.
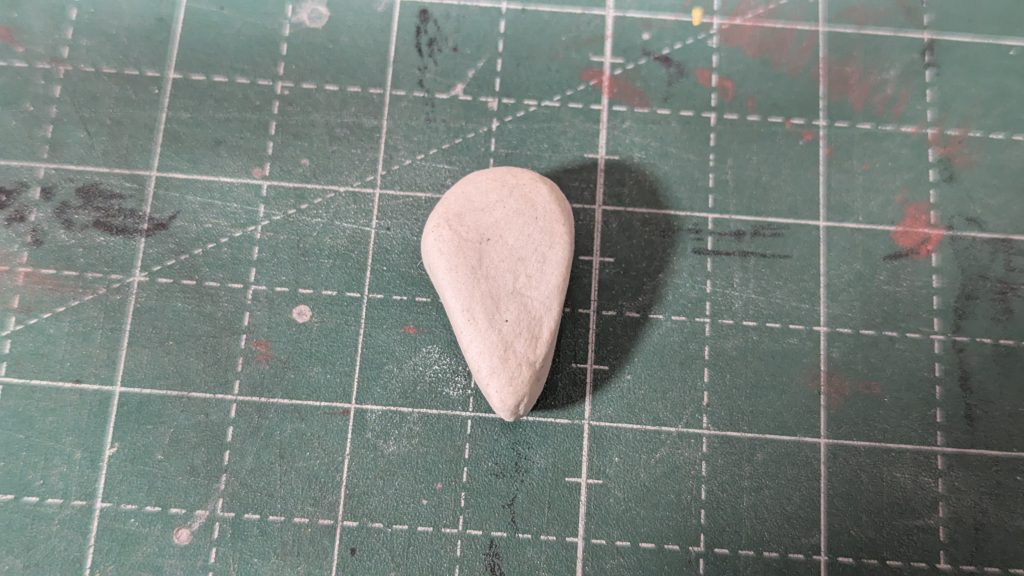
3. Make a ball for the head.
4. Elongate the ehad shape and add eyes.
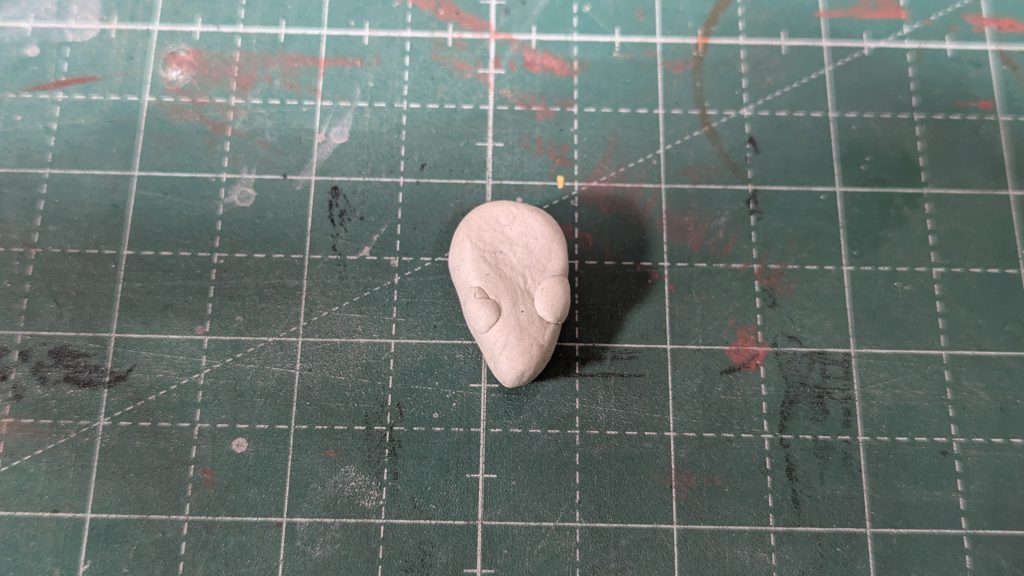
5. Put the head on the body of the snake and you are done!
Snakes are surprisingly simple and make creative diy air dry clay decorations.
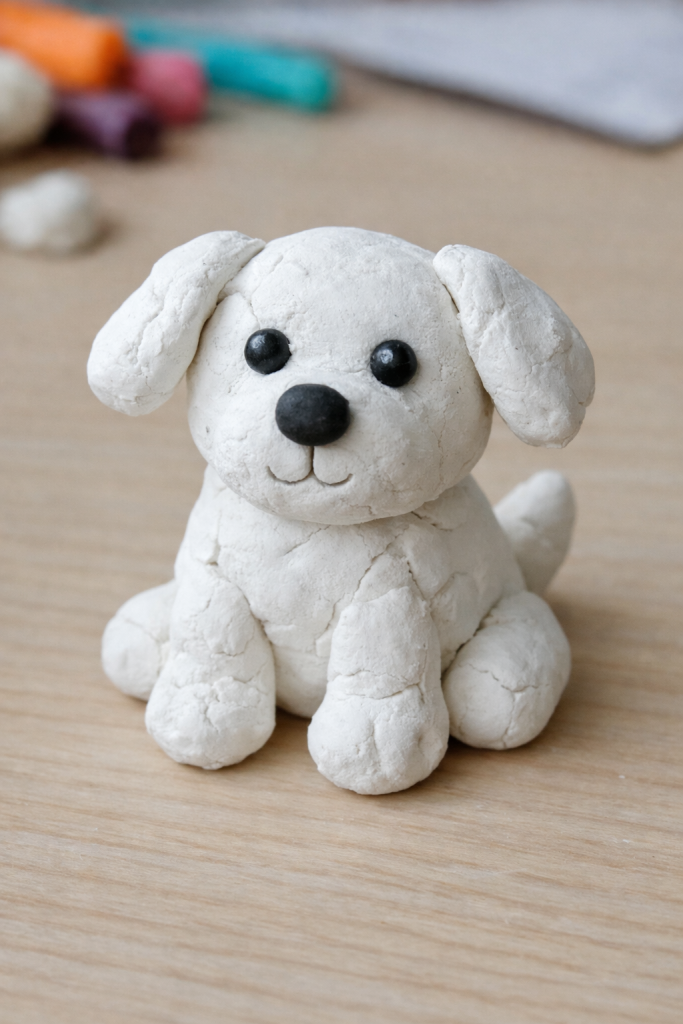
4. Dog
Steps:
- Make one medium ball for the head.
- Shape a slightly larger oval for the body.
- Add four small cylinders for legs.
- Create two floppy ear shapes.
- Add a tiny ball for the nose and two small dots for eyes.
- Roll a thin worm for the tail.
Dogs are always a favorite in things to make with air dry clay kids love.
5. Bee
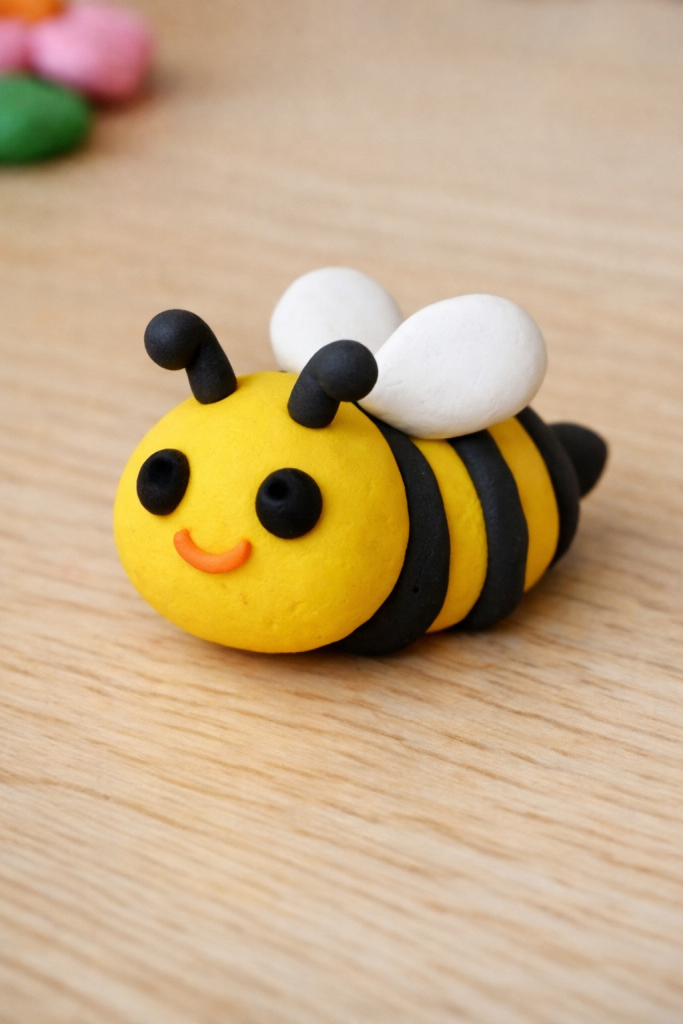
Steps:
- Shape a small oval for the body.
- Add thin black stripes.
- Attach two tiny flattened wings.
- Roll two very thin worms for antennae.
- Add tiny balls for eyes.
This is a perfect spring-themed air dry clay toddler craft.
6. Panda
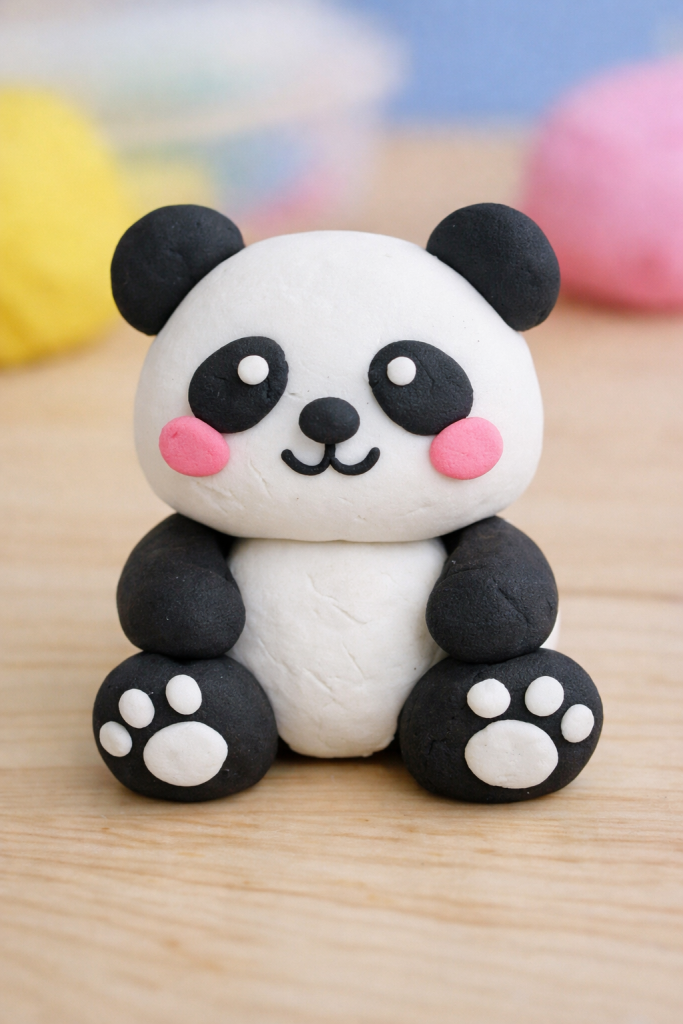
Steps:
- Form a large white ball for the body.
- Add a smaller white ball for the head.
- Make two small black balls for ears.
- Create two flattened black ovals for eye patches.
- Add tiny black balls inside for pupils.
- Attach small cylinders for arms and legs.
Pandas are adorable and simple clay diy projects for beginners.
7. Bear
Steps:
- Roll a large brown ball for the body.
- Add a slightly smaller ball for the head.
- Attach two small round ears.
- Add a lighter oval for the belly.
- Create a tiny snout with a small ball and flatten it slightly.
- Add small cylinders for legs.
Bears are classic easy air dry clay crafts for kids and great for woodland themes.
8. Frog
Steps:
- Form a rounded oval for the body.
- Add two small balls on top for raised eyes.
- Press small black dots into the eyes.
- Attach flattened shapes for feet.
- Draw a curved smile.
Frogs are fun, bright, and simple air dry clay projects for younger kids.
9. A Cute Bug
Steps:
- Shape a small round dome.
- Flatten the bottom slightly.
- Add a line down the center.
- Create tiny black dots for spots.
- Add a tiny head and two antennae.
This bug is perfect when looking for quick clay crafts for kids with minimal steps.
10. Cute Bird
Steps:
- Make a small round body.
- Pinch one side slightly to form a tail.
- Add a tiny cone for the beak.
- Attach two tiny flattened wings.
- Add dot eyes.
- Create thin stick legs.
This is one of the sweetest things to make with air dry clay kids can gift to family members.
Tips for Success
- Work on a smooth, clean surface.
- Keep a small cup of water nearby to smooth cracks.
- Let creations dry fully (usually 24–48 hours).
- Seal with non-toxic varnish for durability.
- Store unused clay tightly wrapped.
These air dry clay crafts for kids easy enough for beginners help build fine motor skills, creativity, and confidence. Whether you’re making animals for playtime or as gifts, these charming creatures are sure to bring smiles.
Which one will you try first?