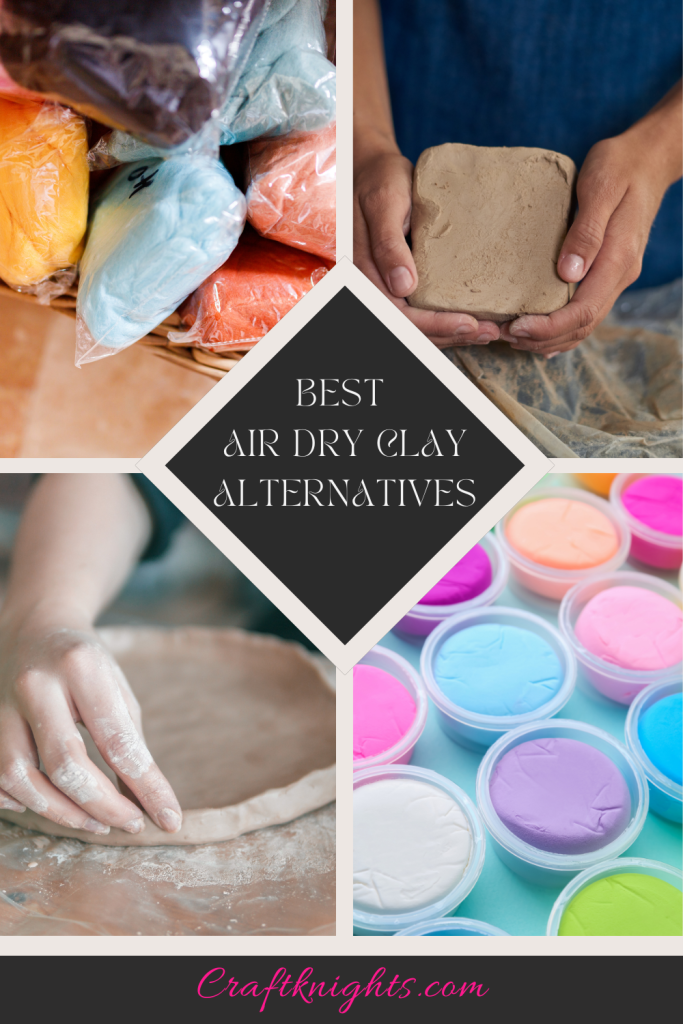
Air-dry clay is an amazing crafts medium that can be used to create sculptures by everyone without the need to fire the clay in a kiln. But there are a lot of drawbacks to using air-dry clay which is why I will take a closer look at some alternatives to air-dry clay that might be a better fit for your specific project.
As a whole, alternatives for air-dry clay include epoxy clay and polymer clay. Epoxy clay starts to harden as soon as the two compounds are mixed. It can be molded for a limited amount of time and is very durable. Polymer clay can be hardened by baking it in a regular oven.
The best alternatives for air dry clay are:
- Polymer clay
- Epoxy clay
- Monster clay
- Homemade clay
The choice depends entirely on your project. I personally prefer polymer clay for most of my projects, but for some more specific projects that need to be very durable, epoxy clay might be a better choice.
I will talk more about the pros and cons of using each of the air-dry clay alternatives in the following section.
Alternatives to Air-Dry Clay

There are a few alternatives to air-dry clay but most of them are very similar to air-dry clay and they will share a lot of the downsides to using air-dry clay as well.
This is why I decided to look at alternatives that actually do something different and better than air-dry clay.
We are going to look at polymer clay and epoxy clay. Both have their own advantages and disadvantages and both can be used for a lot of different kinds of projects.
Air dry has its disadvantages but there is a lot that you can do with it so before you search for alternatives consider reading my complete guide on how to work with air dry clay. Maybe it will help you.
Polymer Clay

Polymer clay is a thermoplastic that can be hardened by baking it in your oven at home. It is perfect for smaller sculptures or for making jewelry with it.
| Pros | Cons |
|---|---|
| Bake to harden | More expensive than air-dry clay |
| Does not air dry | Baking can be a little annoying |
| Easy to work with | It is plastic |
| Waterproof once it was baked | |
| Available in lots of different colors | |
| Doesn´t have to be sealed | |
| Can easily be painted | |
| Easy to store |
It is a little bit more expensive than air-dry clay but it is much more durable and it is waterproof once it is baked.
I have a full guide on how to work with polymer clay for beginners that you can read right here.
Here is a video where I use polymer clay to make a diorama of Link.
While air-dry clay should be sealed after it has hardened to ensure its longevity, polymer clay does not need to be sealed.
I have written a whole article about sealing polymer clay where I explain when it makes sense to seal polymer clay and where I explain how to properly seal polymer clay as well.
Air-dry clay needs to be stored in an airtight container in order to keep it from drying out. Polymer clay, on the other hand, does not need to be stored in very specific ways because it won´t air dry.
Polymer clay can easily be stored in any container as long as it is kept away from any heat source.
Polymer clay is also waterproof once it has been baked. That doesn´t mean you should use polymer clay to build working vases or mugs but you don´t have to be careful to keep the finished sculpture dry.
The biggest downside to using polymer clay is really the price and the fact that baking polymer clay can be a little difficult at times.
This is also why I wrote an entire article on how to properly bake polymer clay without burning or breaking it, which will help you to bake your polymer clay successfully every time.
Epoxy Clay

Epoxy clay is a little bit different than most other clays and most of you might have never heard of it before. Epoxy clay works by mixing two compounds together. As soon as the two compounds are mixed the clay will begin to harden so you only have a limited time to model your sculpture.
| Pros | Cons |
|---|---|
| Easy to work with | Limited time to work with |
| Easy to store | Can´t be stored once mixed |
| Very durable | Quite expensive |
| Can be sanded and carved after fully hardened | |
| Waterproof | |
| Can easily be painted |
Epoxy clay is pretty easy to work with because it is very easy to mold right out of the box without needing to condition it beforehand.
But the epoxy clay will also start to harden as soon as you mix the two compounds, so it will become harder and harder to mold as time goes on.
You only have a limited time to work with the clay, and you can´t store the clay once the two compounds have been mixed. But it usually takes around 42 hours until the clay is fully set, and you have around five to six hours of work time. So it isn´t that bad.
Epoxy is, however, extremely durable once it has fully hardened. It will be waterproof, and it can survive the elements. So you can simply put the epoxy clay sculpture outside and it will be able to survive in your garden for a very long time without any issues.
Epoxy clay does not have to be sealed except when you have painted it with non-permanent or water-based paint.
I personally prefer using polymer clay for most of my projects because polymer clay is cheaper than epoxy clay and I don´t have to finish my sculpture in one sitting.
Monster Clay
Monster clay is another good alternative for air dry clay but I would not recommend it for beginners for the sole reason that it never fully cures. A silicone mold has to be made from the final sculpture and then the model has to be cast in resin to get a long-lasting permanent sculpture.
| Pros | Cons |
|---|---|
| Gets soft when heated up and rigid when cooled down | It can be difficult to condition the clay |
| Insane details can be added to monster clay | Monster clay never fully hardens or cures |
| VFX artists use monster clay for sculpting, it’s that good | |
| Almost infinitely reusable |
Monster clay is one of my personal favorite types of clays, but it is not a beginner’s clay by any means.
If you just want to learn how to sculpt and don´t care about making a permanent sculpture, then this is a great choice in the beginning.
But monster clay never fully cures or hardens so if the clay gets hot, it will become soft again no matter how long you leave it to “dry”.
If you want a permanent sculpture then you have to make a silicone mold from your finished monster clay sculpture and then cast the mold in resin.
But it is important to note that the clay sculpture often gets destroyed or gets damaged when making a mold. So if you mess the mold up then your sculpture will often be lost or badly damaged too.
Homemade Clay (Baking Soda Clay)
Finally, you can also simply make your own air dry clay at home. This kind of clay behaves very similar to air dry clay but it is harder to fix cracks if any appear and it sometimes molds if it gets wet for some reason.
To make your own air dry clay at home simply mix 4 cups of baking soda, 2 cups of cornstarch, and 2 1/2 cups of water in a pot. Heat the mixture up over medium heat while steering. The mixture will become thick after a short while. Remove the clay from the pot and let it cool down.
You will need:
- 4 cups of baking soda
- 2 cups of cornstarch
- 2 1/2 cups of water
This is enough to make a pretty sizable amount of clay.
Here are the individual steps for making homemade clay:
- Mix 4 cups of baking soda, 2 cups of cornstarch, and 2 1/2 cups of water together
- Put everything in a pot
- Heat the mixture up over medium heat while constantly steering
- Steer until the mixture becomes a white paste
- Remove the mixture from the pot and let it cool down
- Knead the mixture until it is smooth and no longer sticky
- Make your sculpture and leave it to dry for two days
Homemade air dry clay is pretty awesome because it handles very similar to polymer clay but it dries on its own without the need to bake it just like air dry clay.
Homemade air dry clay is less likely to crack overall but it has to be kept away from moisture because it is much more likely to mold than air dry clay.
This kind of clay will also become sticky when it gets into contact with too much water so use water sparingly when working with your homemade air dry clay.

4 thoughts on “Best Alternatives to Air-Dry Clay”
Will objects stick to epoxy clay, such as stones or other embellishments?
That depends on the type of epoxy that you are using but most types of epoxy will be sticky enough and durable enough to hold stones or other embellishments.
Is it possible to mold air dry clay to the outside of a cup and have it stick to it after its dried? So far it’s shrunk and fallen off. Which clay is best for this? The idea is to create a gnome on the outside of the cup.
Hi Sunshine,
Air-dry clay won´t stick to a surface that can´t absorb water i.e. plastic or glass. You can sculpt the gnome and then glue it with contact cement to the cup. But even then you won´t be able to wash the cup. If air-dry clay gets in contact with water after it has dried it will get soft again. So I recommend using polymer clay to sculpt the gnome. Then harden the polymer clay in the oven according to the instructions and then finally glue it to the cup. Polymer clay will survive direct contact with water, unlike air-dry clay.