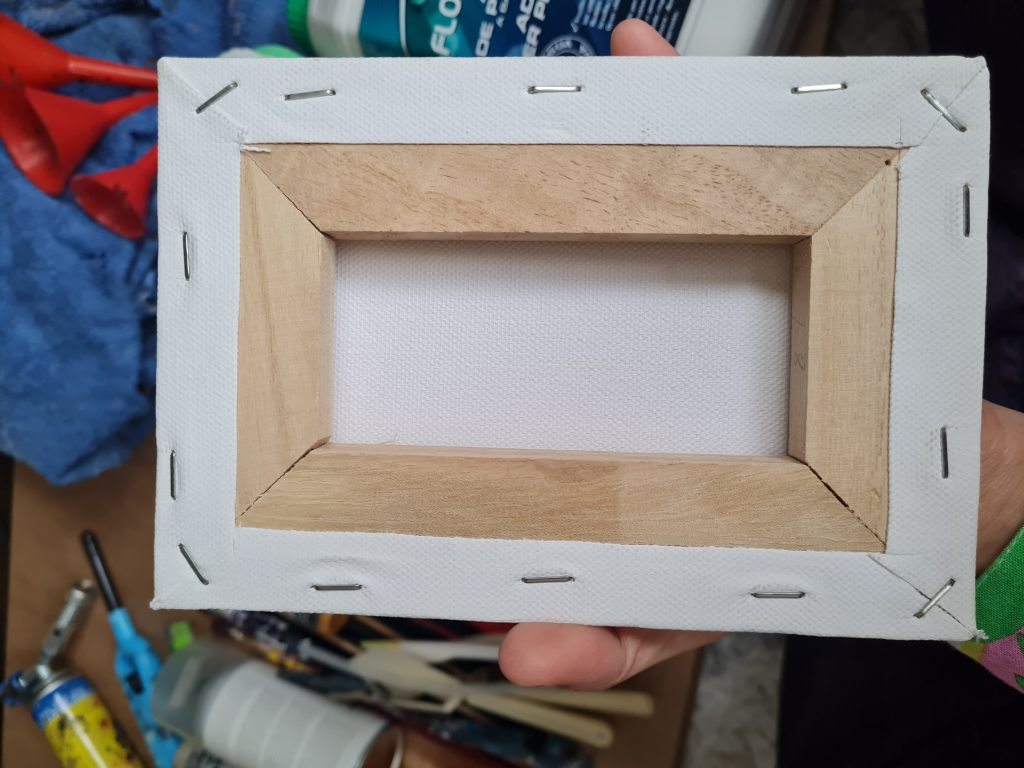
Stretched Canvas: The most common and readily available option.
Stretched canvas is probably the most common and readily available option for acrylic pouring. It’s relatively inexpensive, lightweight, and easy to find at most art supply stores.
I mostly used streched canvas, for me, this was the best option for most projects.
- Pros: Affordable, readily available, lightweight.
- Cons: Can warp or sag if not properly stretched, may require additional support for larger pours.
Wood Panels: Provides a more rigid and archival surface.
Wood panels offer a more rigid and durable surface than stretched canvas. They’re less likely to warp or sag, making them a good choice for larger pours or for artwork that you want to last for years to come.
- Pros: Sturdy, durable, less likely to warp.
- Cons: More expensive than stretched canvas, heavier.
Other Substrates: Glass, ceramic tiles, rocks – consider priming!
If you’re feeling adventurous, you can also try pouring acrylic paint onto other surfaces, such as:
- Glass: Glass creates a smooth, glossy surface that can enhance the colors and cells in your acrylic pour.
- Ceramic Tiles: Ceramic tiles are a fun and affordable option for creating small, decorative pieces.
- Rocks: Pouring onto rocks can create unique and organic-looking artwork that blends seamlessly with nature.
- Prepping Your Canvas: Cleaning, priming, and taping edges for a professional look.
No matter what type of canvas or substrate you choose, it’s important to prep it properly before you start pouring. This will help to ensure that the paint adheres properly and that your artwork lasts for years to come.
- Clean the Surface: Remove any dust, dirt, or grease from the surface with a clean cloth.
- Prime the Surface: Apply a coat of gesso or primer to the surface to create a smooth, even base for the paint. This will also help the paint to adhere better and prevent it from soaking into the surface.
- Tape the Edges: If you want to create a clean, professional look, tape the edges of your canvas or substrate with painter’s tape. This will prevent the paint from dripping down the sides.
