f you’ve been searching for Giant Paper Flowers DIY Easy tutorials, you’re in the right place. These large tissue paper flowers are lightweight, dramatic, and surprisingly simple to create at home. While many crafters lean toward card stock flowers, this large tissue paper flowers DIY approach is even more versatile. Perfect for walls, backdrops, and even light-up decor.
Today, I’ll show you how to make big flower decor using a pro-level hack most blogs skip: contact cement for a bond that never buds. This one trick alone takes your handmade flowers paper project from temporary to professional-quality.
| Technical Specification | Value / Detail |
| Primary Material | 80gsm Tissue Paper / Cardstock |
| Adhesive Profile | Contact Cement (Permanent) |
| Difficulty Rating | Level 2: Intermediate |
| Build Time | ~45 Minutes per Flower |
| Key Hardware | Scissors |
Materials: Everything for Your Giant Flowers DI
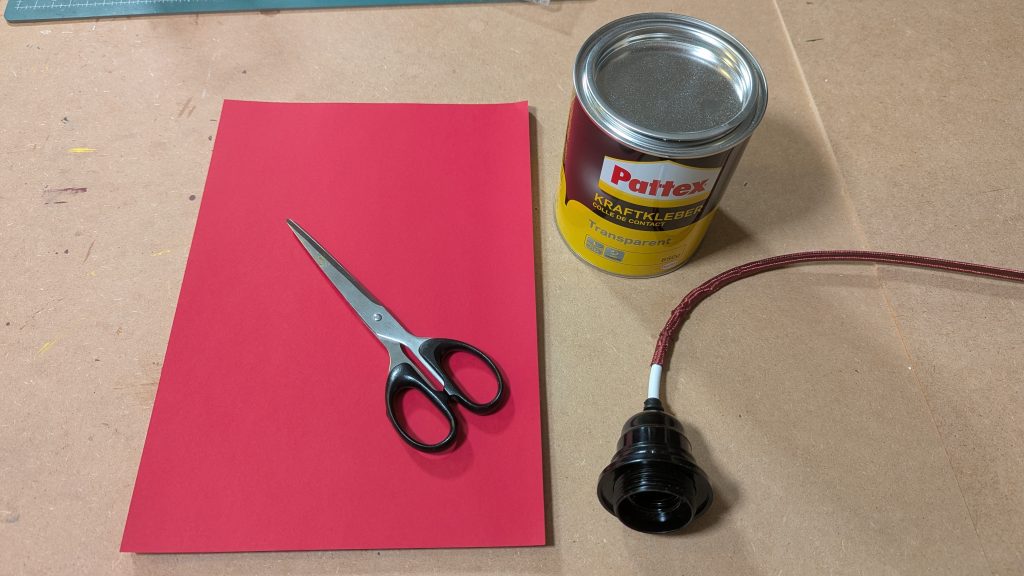
Before diving into your Giant Flowers DIY, gather these supplies:
- Paper: Strong letter-format paper (Red or Green), or sheets for a true flower tissue paper craft. (Tissue creates soft, airy petals, while heavier paper gives structure).
- Adhesive (The Secret Weapon): Contact cement. It bonds permanently and won’t peel in heat like hot glue.
- Tools: Sharp scissors.
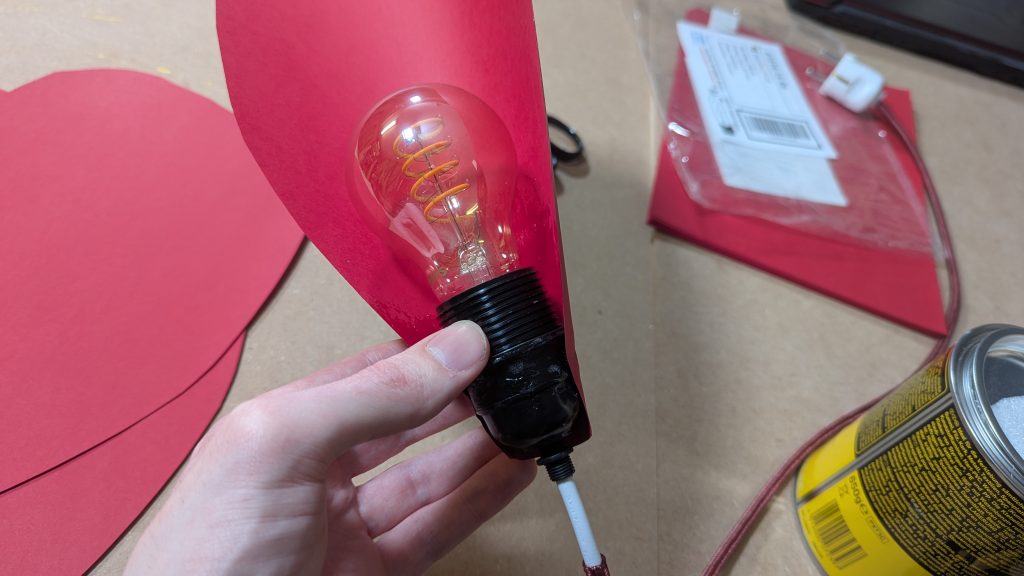
- Optional: LED lightbulb and socket (for illuminated flowers. Safety first!).
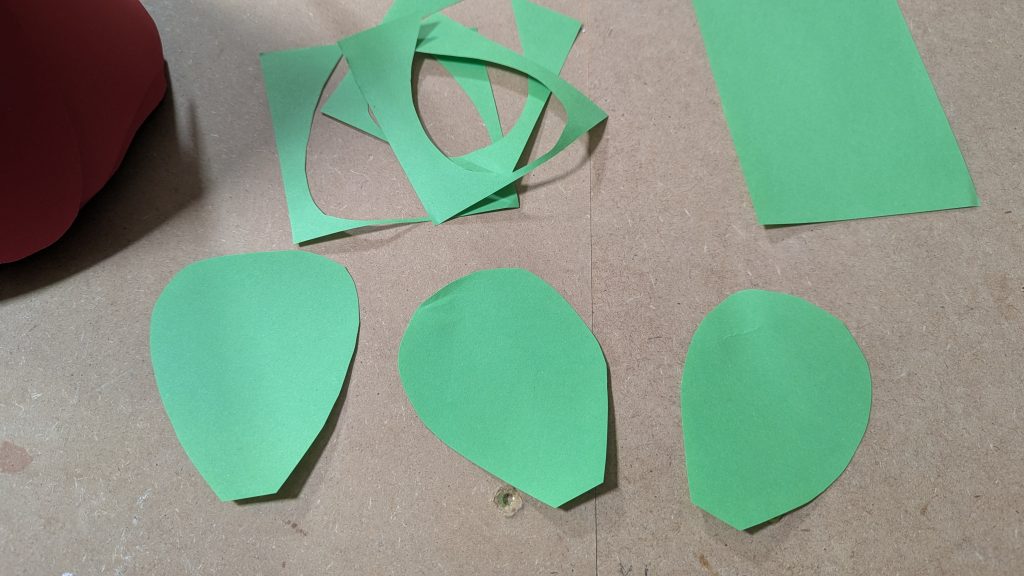
Step 1: Cutting Your 3D Flower Petals
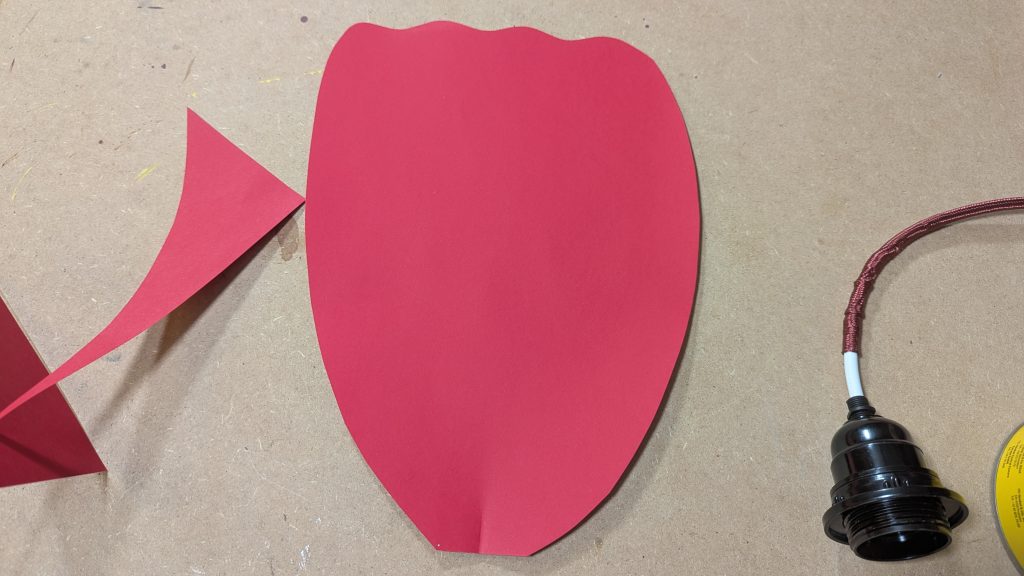
If you’re wondering how to make big flower petals quickly, efficiency is everything.
The Efficiency Hack
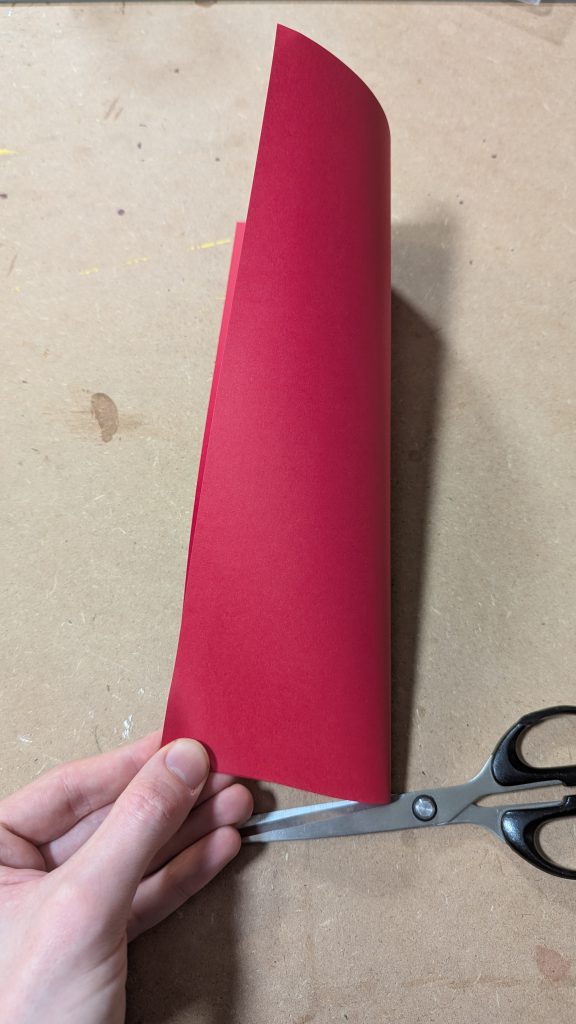
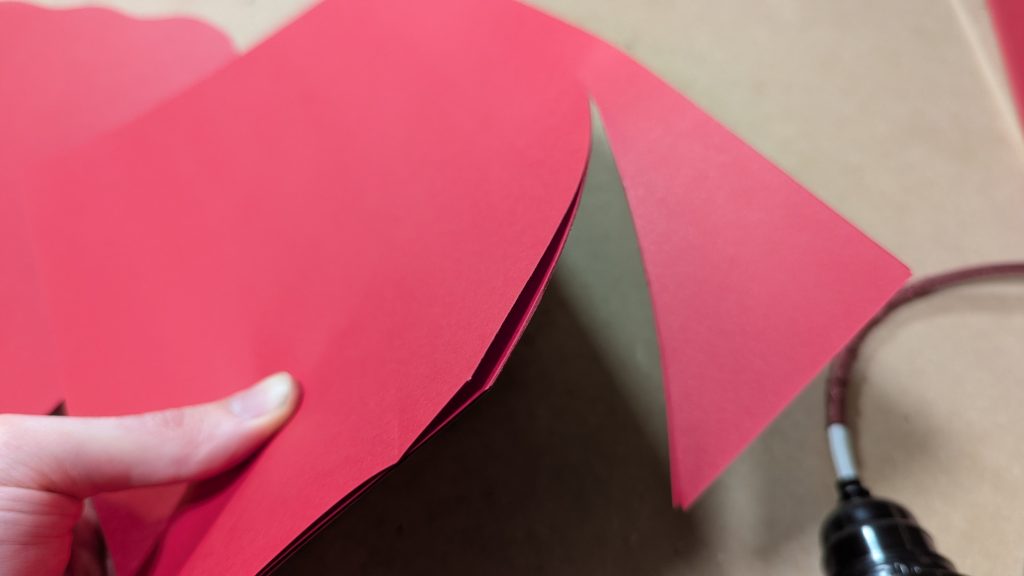
Instead of cutting one petal at a time, stack 4–5 sheets of tissue paper, fold them in half, and cut your petal shape once. You’ll instantly create multiple matching petals, keeping this project firmly in the Easy Giant Flowers DIY category.
Pro-Tip: Use a bowl to trace your outer petal shape for perfect curves. This small shortcut creates professional symmetry without needing a template.
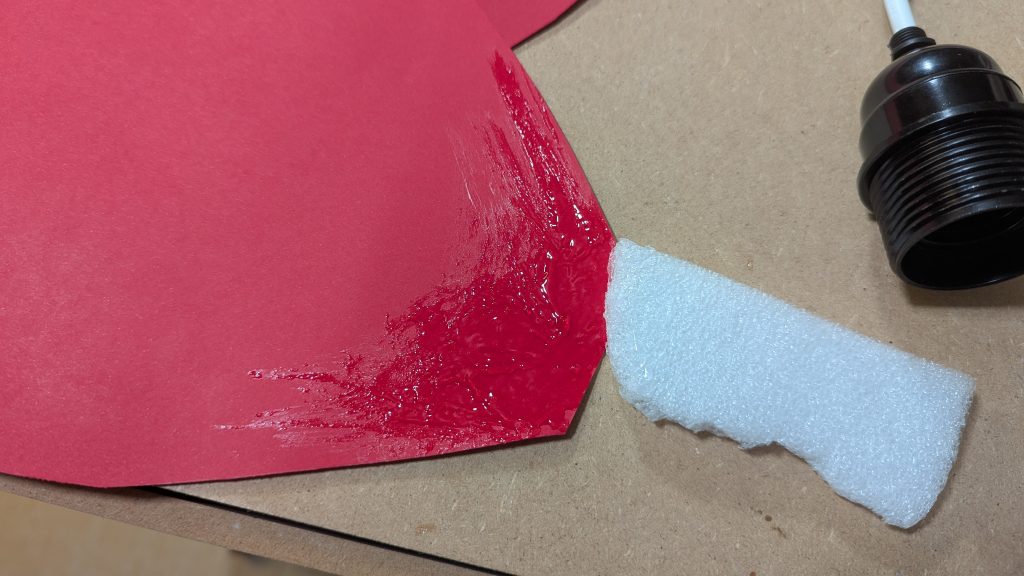
Step 2: The Contact Cement Secret
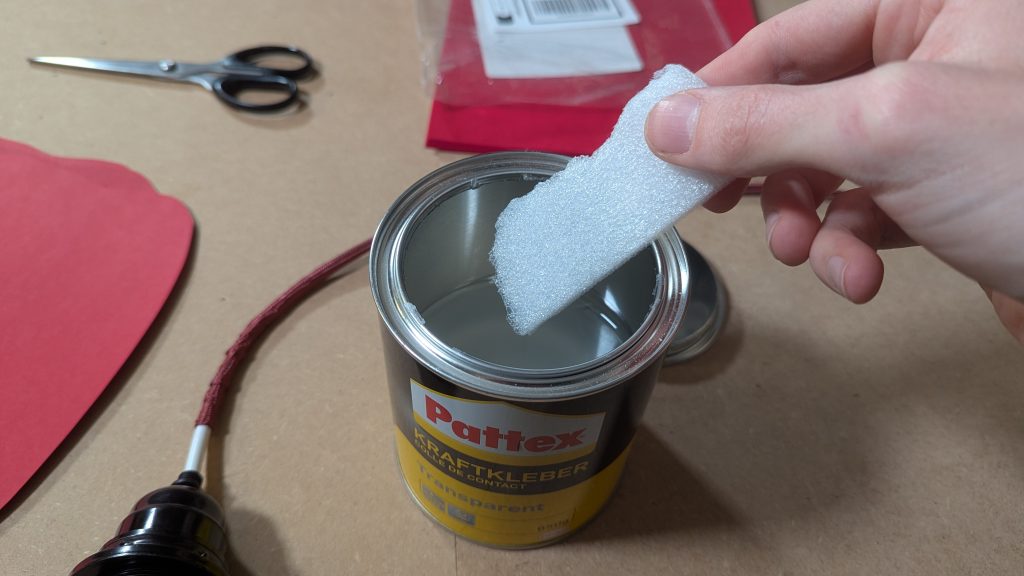
Here’s where we elevate your DIY large paper flowers how to make process. Contact cement works via the “Dry-to-Touch” method:
- Apply a thin layer to both surfaces.
- Let it dry until tacky (about 5–10 minutes).
- Press firmly together for an instant, permanent bond.
As someone who has built event props and stage decorations, I’ve tested hot glue and double-sided tape. In warm environments, hot glue softens and petals sag. Contact cement holds strong. Even under hot studio lights.
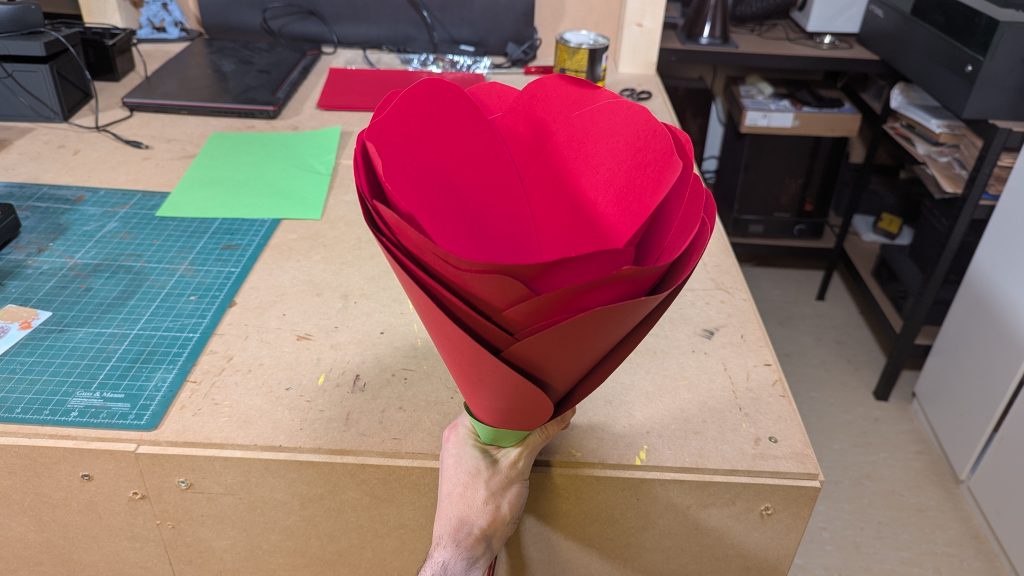
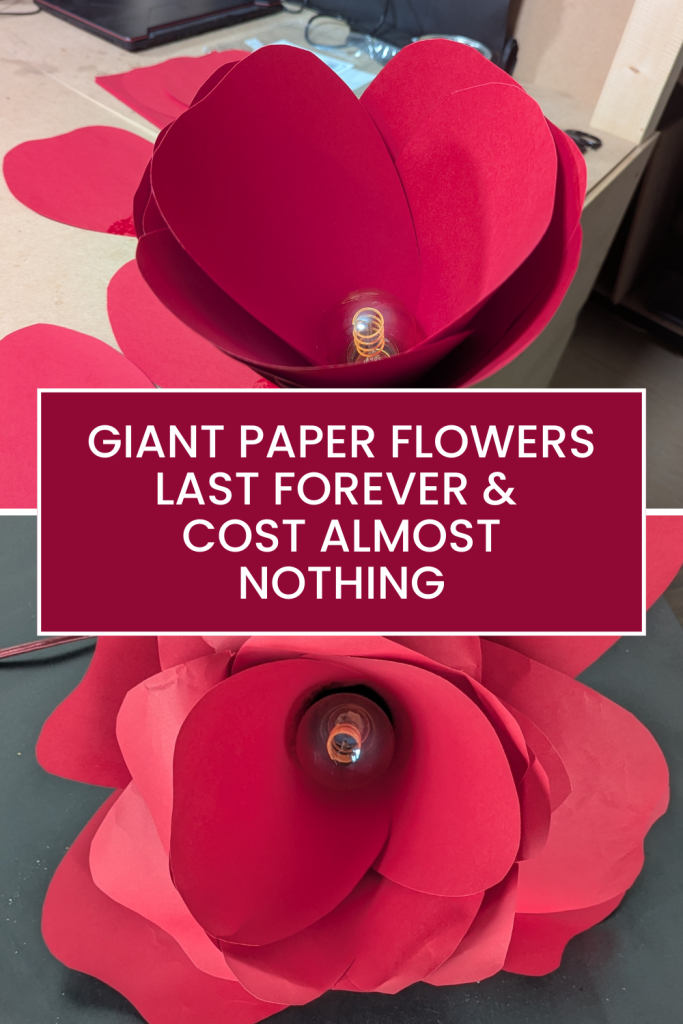
Step 3: Assembling Your Large Tissue Paper Flowers DIY
Now we focus on flower design with paper.
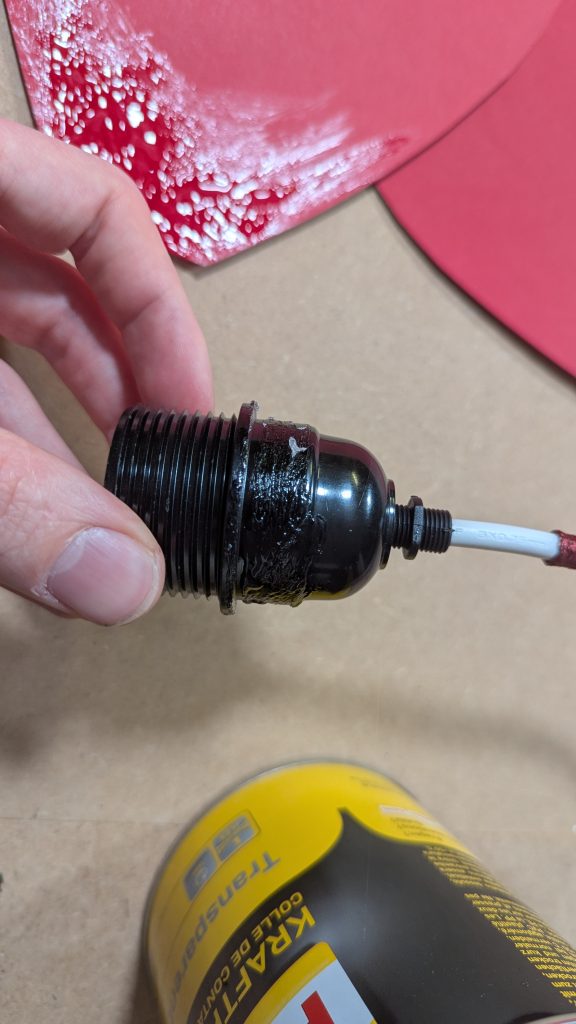
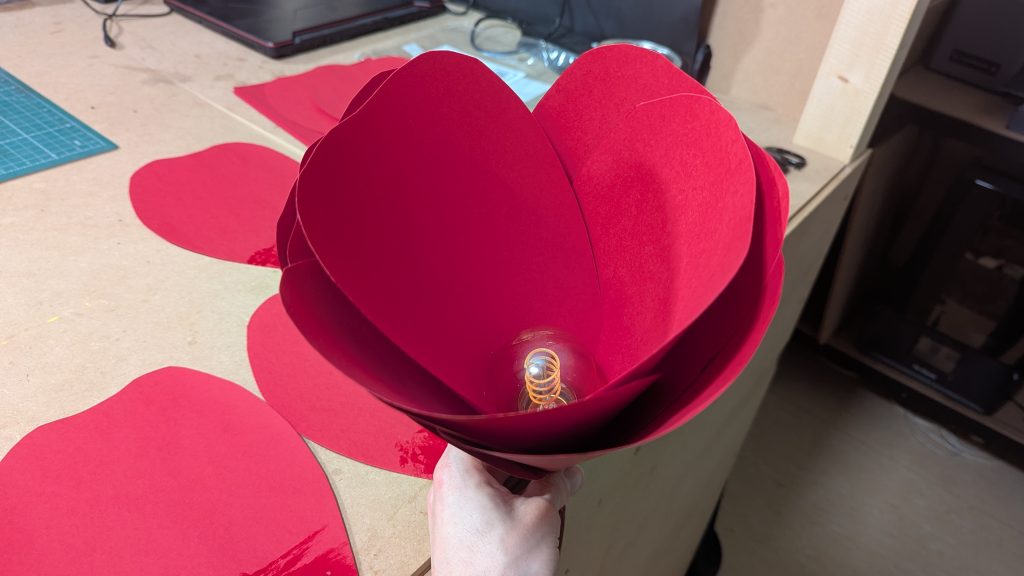
- Start at your bulb socket (or a circular cardboard base).
- Attach the largest petals first, working in a circular pattern.
- Overlap each petal slightly. Use around 12 petals for a full, dramatic look.
- Add smaller petals toward the center to create depth—this transforms flat cutouts into beautiful 3D flower ideas.
Step 4: Creating the Sepal (Green Base)
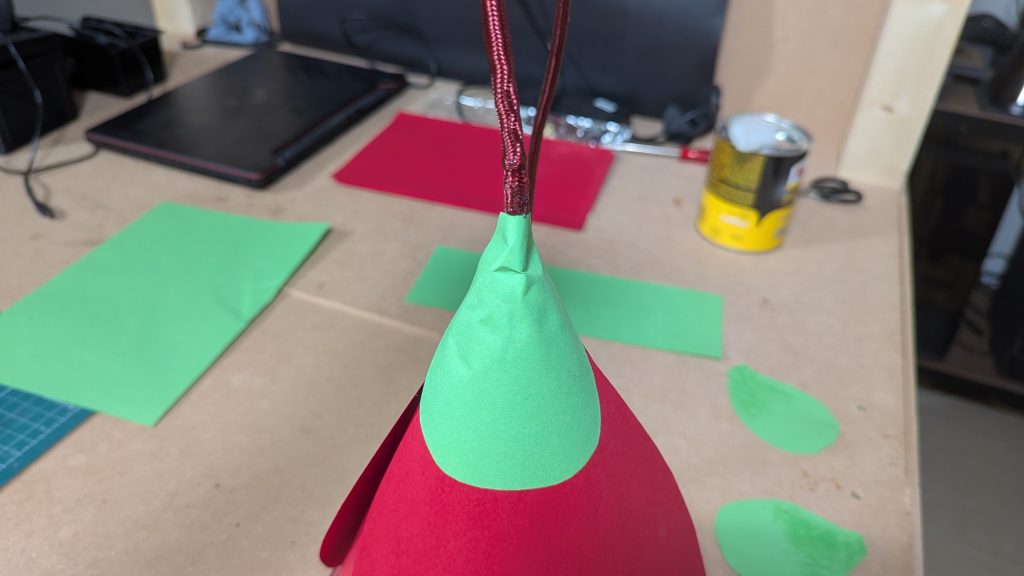
To make your DIY large paper flowers look realistic, you need a sepal (the green part at the base).
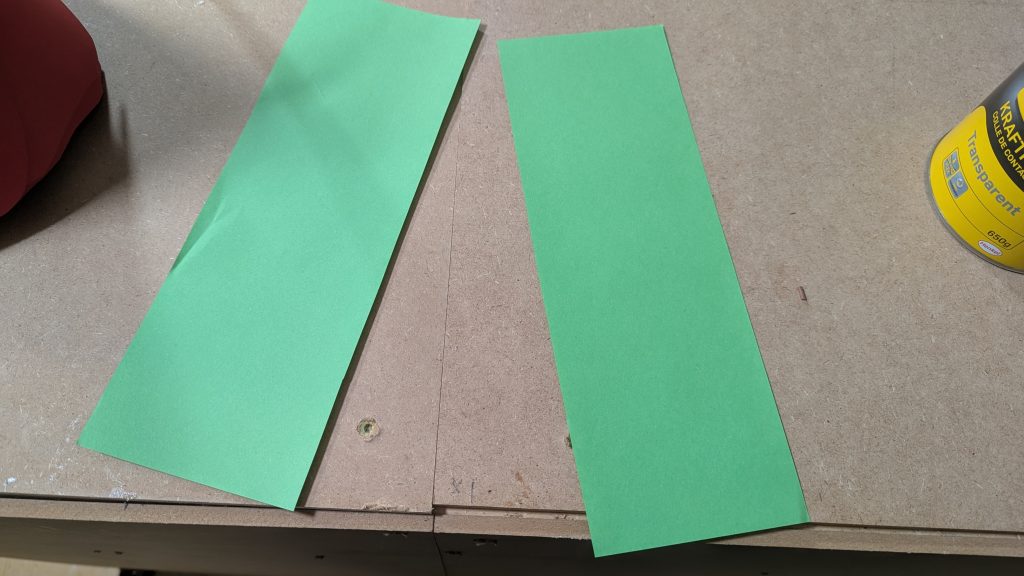
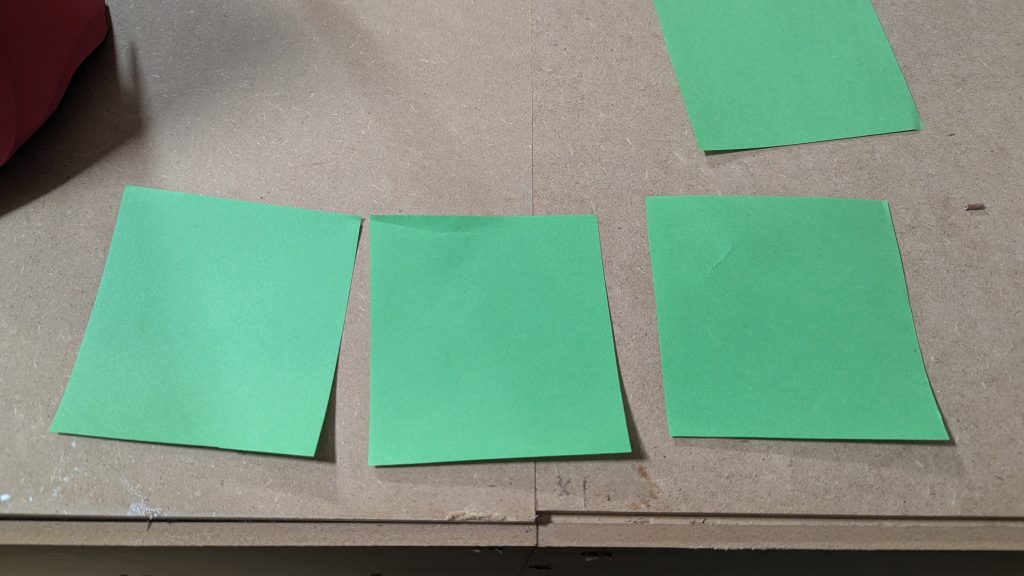
- Cut green paper into squares.
- Trim each square into pointed mini-petals.
- Slightly curl the edges for a botanically inspired look.
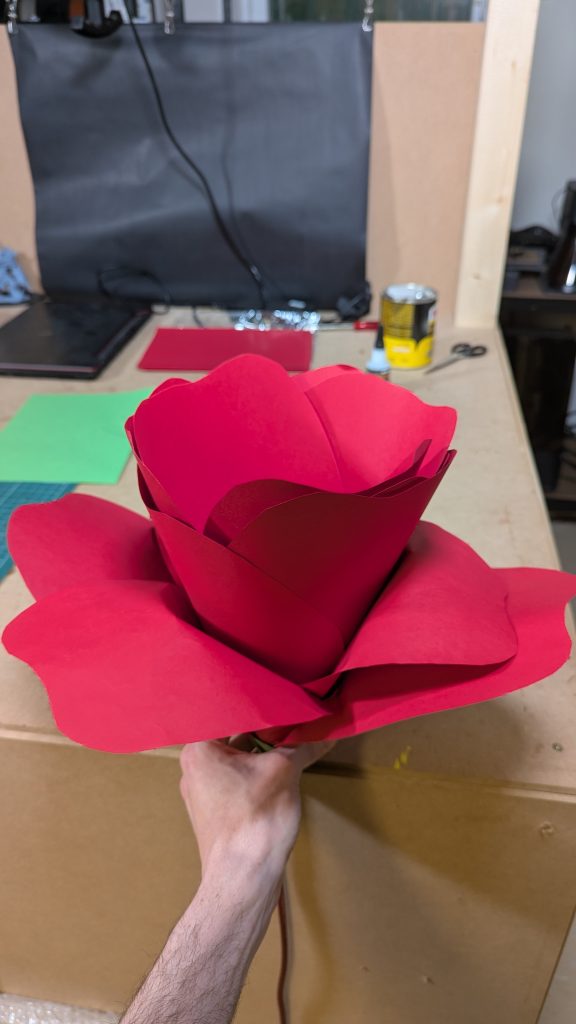
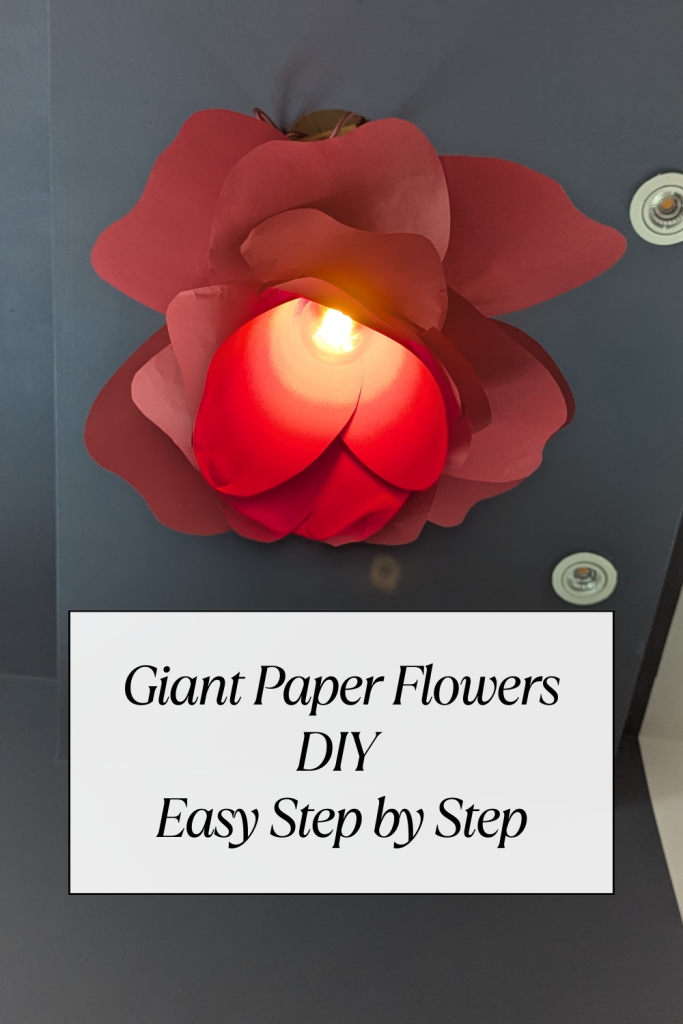
Step 5: Shaping for the “3D” Effect
The difference between basic flower decorations ideas and eye-catching art is the “Gradient Bend”:
- Outer Petals: Bend deeply backward.
- Middle Petals: Curl moderately.
- Center Petals: Only pinch the tips slightly.
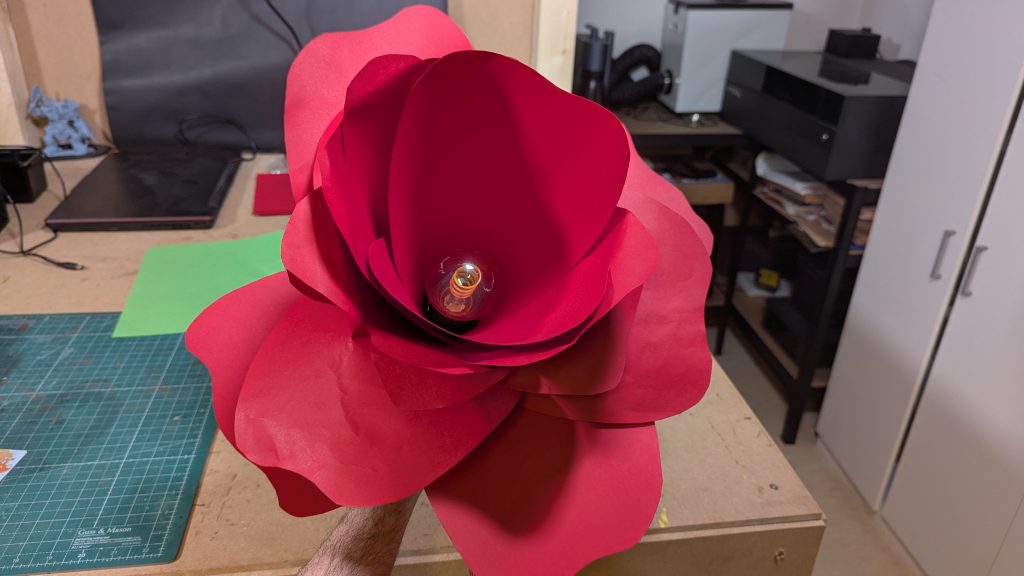
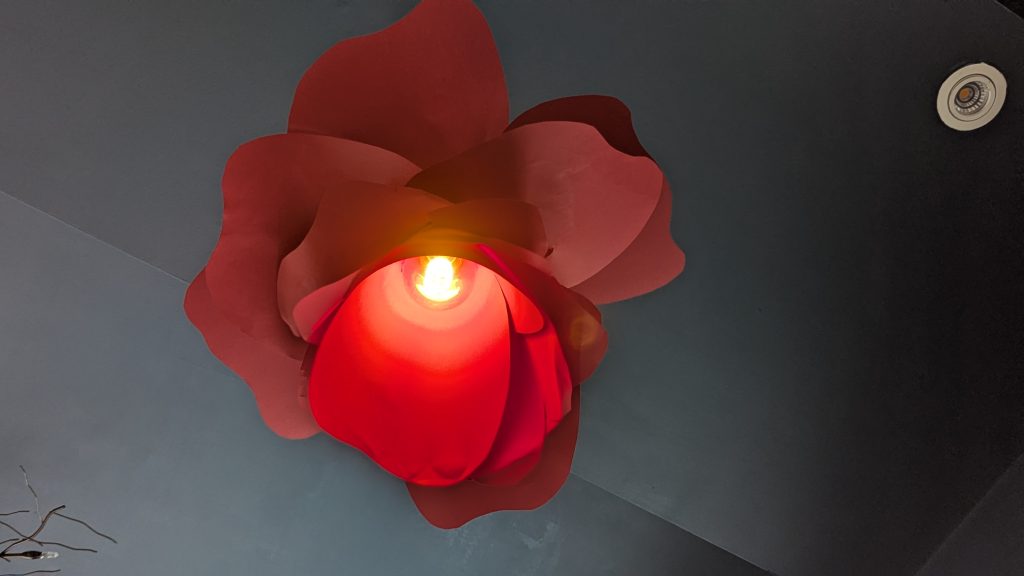
Step 6: Safety First (The LED Light)
If you want glowing handmade flowers paper, use LED bulbs only. The Heat Test: Turn your LED on for 30 minutes. Touch the base to ensure no warmth builds up. Never use incandescent bulbs, as they can burn the paper.
FAQ: Expert Tips for Easy Giant Flowers DIY
What is the best paper for giant flowers?
While card stock flowers are sturdy, tissue paper is lighter and more forgiving when layering. For wall decor and hanging installations, flower tissue paper craft techniques usually win.
How do you hang giant paper flowers on a wall?
Since large tissue paper flowers are so lightweight, you can use:
- Command strips
- Small wire loops glued to the back
- Push pins for temporary setups
How many sheets of tissue paper do I need?
For a full, lush bloom, aim for 12–15 sheets total. By stacking 4–5 sheets per cutting layer, you can finish the whole flower in minutes.
Troubleshooting: Solving Common Paper Flower Fails
Even for a “DIY Easy” project, paper can be a fickle medium. If your flower isn’t looking like a masterpiece yet, check these common fixes based on my experience in the prop workshop.
1. The Paper is Ripping or “Kinking”
The Issue: When you try to bend or curl the petals, the paper tears or creates ugly, sharp creases instead of a smooth curve.
The Cause:
Usually, your paper is too thick for the scale of the flower, or you are trying to wrap it too tightly around the center core.
The Solution:
- Switch to a lower GSM: If you are using heavy cardstock, try a lighter tissue or 80gsm bond paper.
- Downsize the Center: Use smaller petals for the innermost layers. Smaller surface areas are much easier to manipulate into tight 3D shapes.
2. The Contact Cement Isn’t Sticking
The Issue: Your petals are sliding around or peeling off minutes after you attach them.
The Cause:
You are likely treating the contact cement like “wet” school glue. Contact cement is a pressure-sensitive adhesive that requires a specific chemical bond.
The Solution:
- Two-Sides: You must apply a thin, even layer to both the petal and the base.
- The Wait Time: Do not press them together immediately. Wait 3–5 minutes until the glue is “dry to the touch” (it should look matte, not glossy).
- The Instant Bond: Once both sides are dry, press them together firmly. The bond is instant and permanent—no clamping or holding required.
3. The Flower is Sagging Under Its Own Weight
The Issue:
After hanging the flower on the wall, the outer petals start to droop or lose their 3D shape.
The Cause:
Gravity is pulling on the large surface area of the outer petals.
The Solution:
- Structural Ribbing: Glue a thin strip of leftover paper (or a floral wire) down the center of the back of the largest petals. This acts like a “spine” to keep the petal upright.
- The Double-Base: Ensure your cardboard base is rigid enough. If the base flexes, the whole flower will sag.
Final Thoughts
Making Giant Paper Flowers DIY Easy doesn’t require expensive tools. With layered cutting and the unbeatable hold of contact cement, you now know how to make large tissue flowers that look professional and last through any event.

1 thought on “Giant Paper Flowers DIY Easy: Step-by-Step Large Tissue Flower Tutorial”
That is a very good tip especially to those fresh to the
blogosphere. Brief but very accurate info… Appreciate your
sharing this one. A must read article!