If you’re looking for paper flower crafts for kids that actually turn out beautiful, you’re in the right place. I’ve put together three of my favorite designs and every one comes with a free printable template. Just print, cut, and make something gorgeous together.
Simple Paper Rose
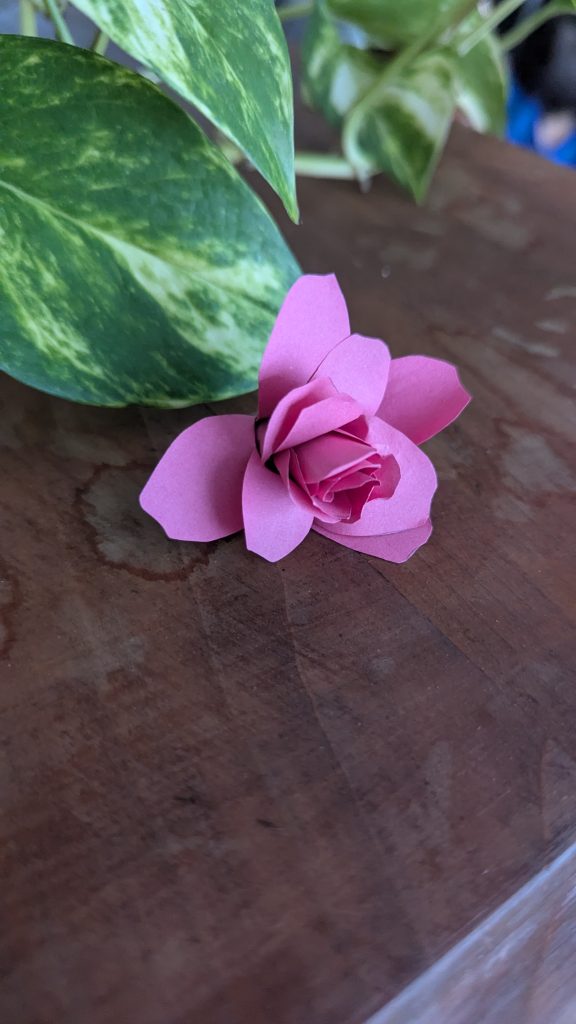
The paper rose is my absolute favorite of the three. It looks like a real rose when it’s finished, and kids are always so proud of how it turns out. You just need the template, scissors, a pencil, and some glue. The whole thing comes together in about 15 minutes.
How to Make it:
Step 1 – Download the Template
Download the template using the form below.
Step 2 – Print
Print the template called “Paper Rose”.
Step 3 – Cut
Cut out the shapes along the outer edges.
Step 4 – Fold
Fold the shape gently in the middle.
Step 5 – Roll
Starting with the smallest piece, roll the shape up tightly.
Step 6 – Glue
Add a small dot of glue to hold everything in place as you go.
Step 7 – Shape the Petals
Use a pencil to gently curl the outer petals outward. Tighter rolls give a more defined rose. Looser rolls give a softer, open bloom. Both are beautiful!
I’ll show you how to make a flower stem in the next section so you can turn these into a bouquet.
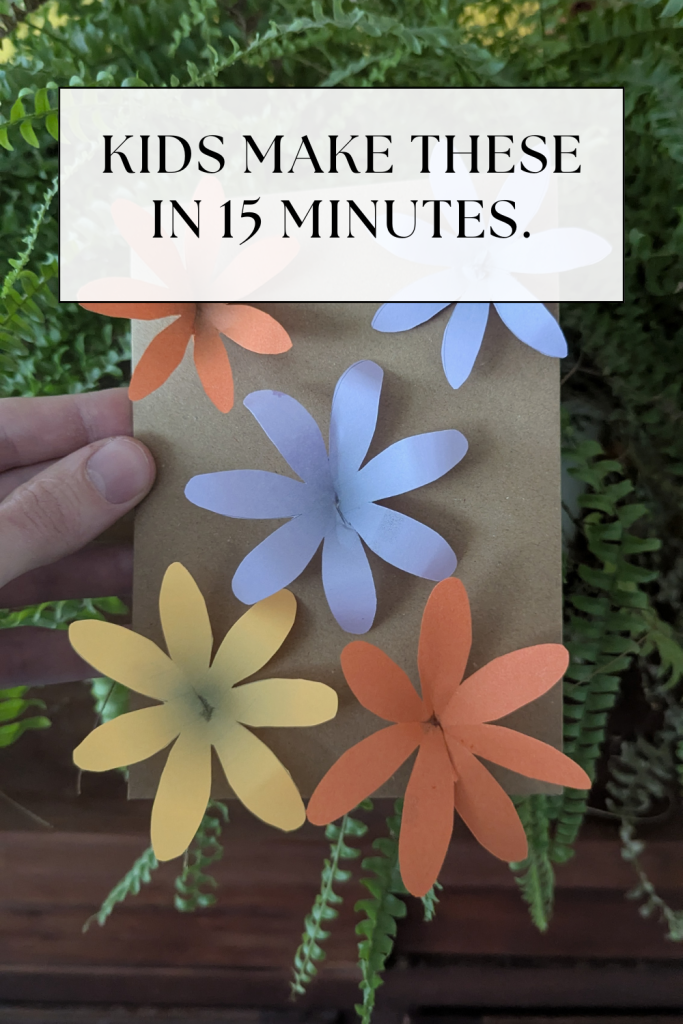
Very Simple Flower Bouquet
This one is great if you want to make a bunch of flowers fast. Kids can knock out five or six in one sitting. It also introduces the paper stem technique they’ll use again in the next project!
You just need the template, scissors, glue, and optionally a small wooden bead for the center.
How to Make it:
Step 1 – Download the Template
Download the template using the button below.
Step 2 – Print
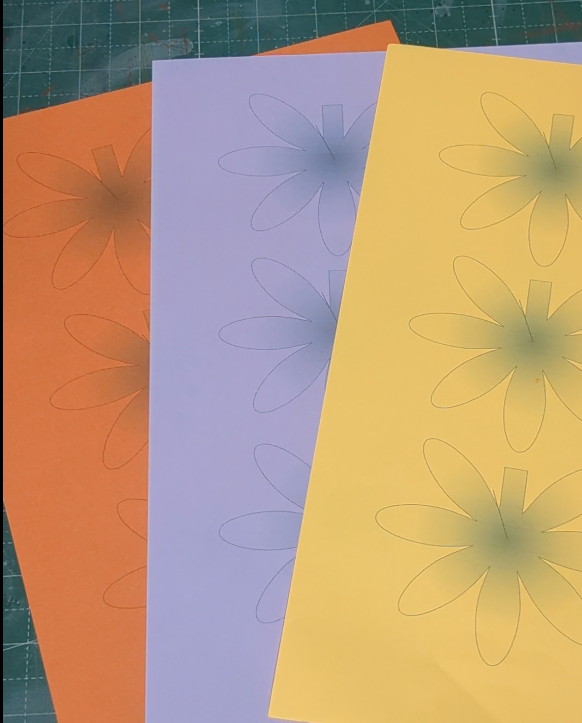
Print the template called “Flower Simple”.
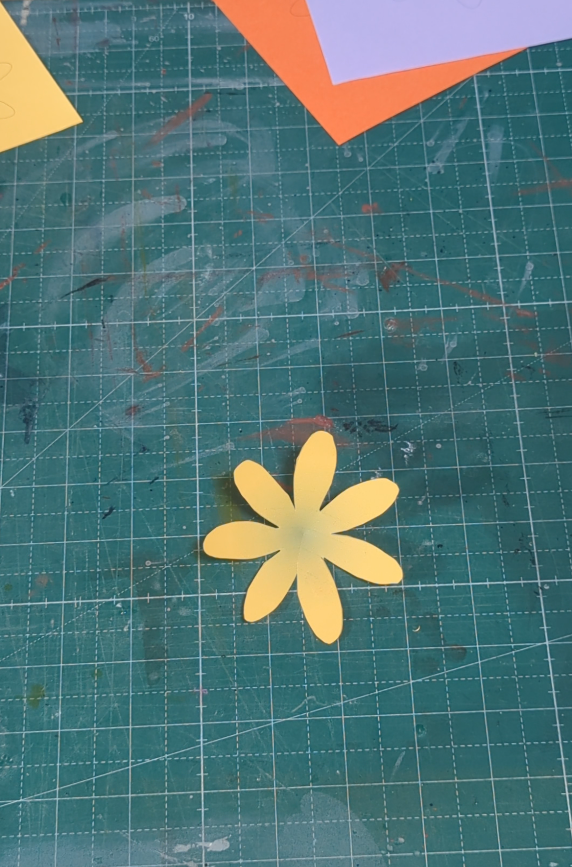
Step 3 – Cut Out the Shape

Cut out all the shapes along the outer edges.
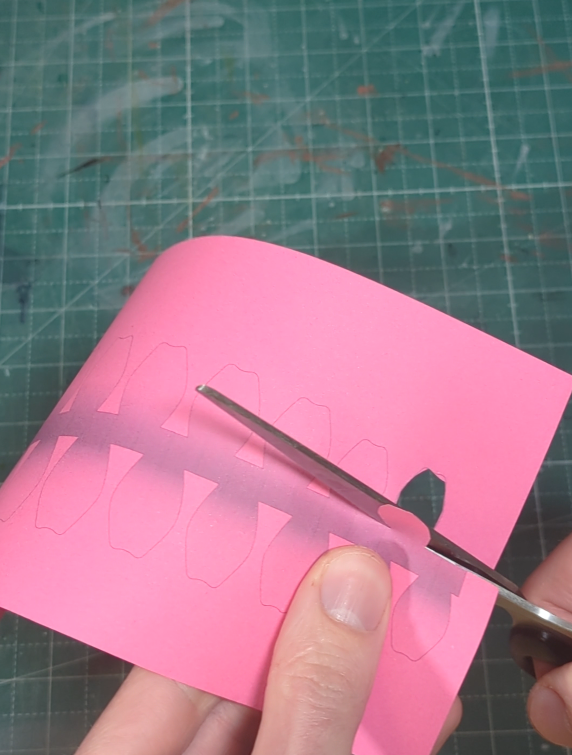
Step 4 – Cut the Petals
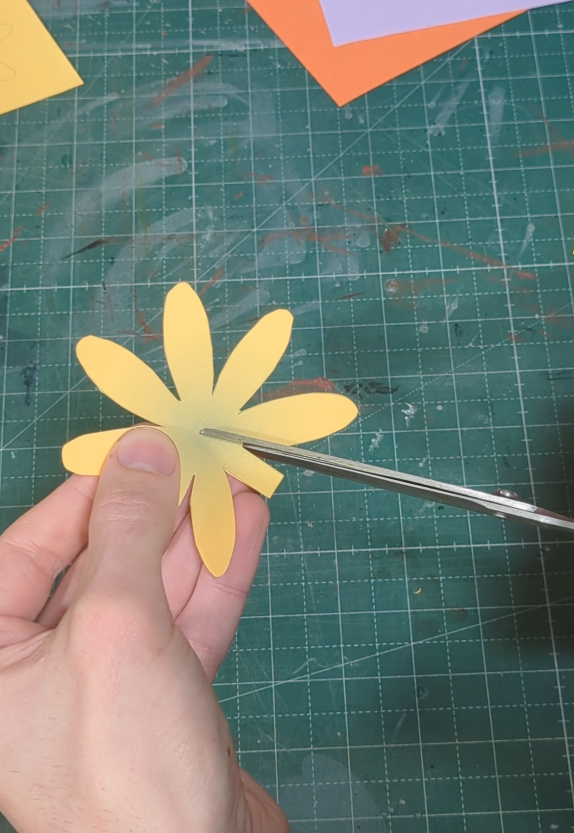
Cut into each flower shape along the printed line. Don´t cut all the way through the shape. Only up to the middle. Your kids may need help with this step if they are younger.
Step 5 – Glue the Base
Apply glue along the rectangular strip.
Step 6 – Form the Flower
Glue the rectangle to its neighboring petal to form the round flower shape.
Step 7 – Shape
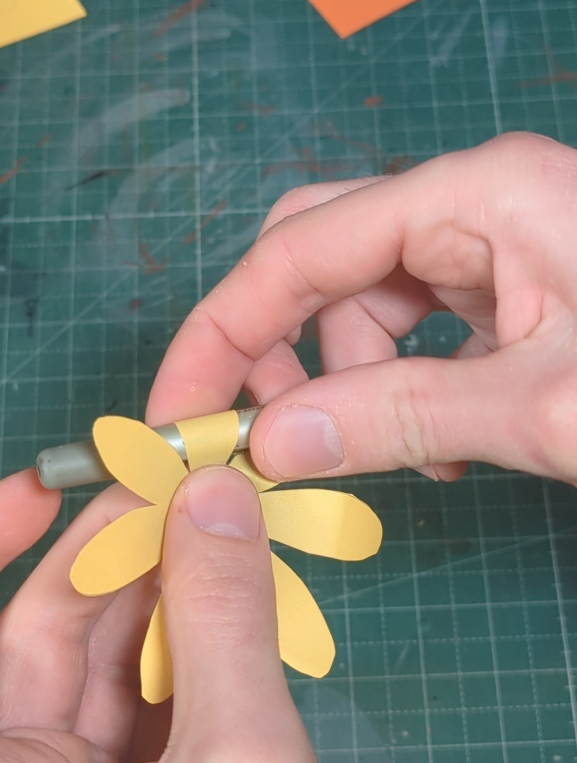
Use a pencil to gently cup each petal outward for a 3D look.
Step 8 – Add a Center (Optional)
Glue a small wooden bead to the center for a finishing touch.
Step 9 – Make the Stem
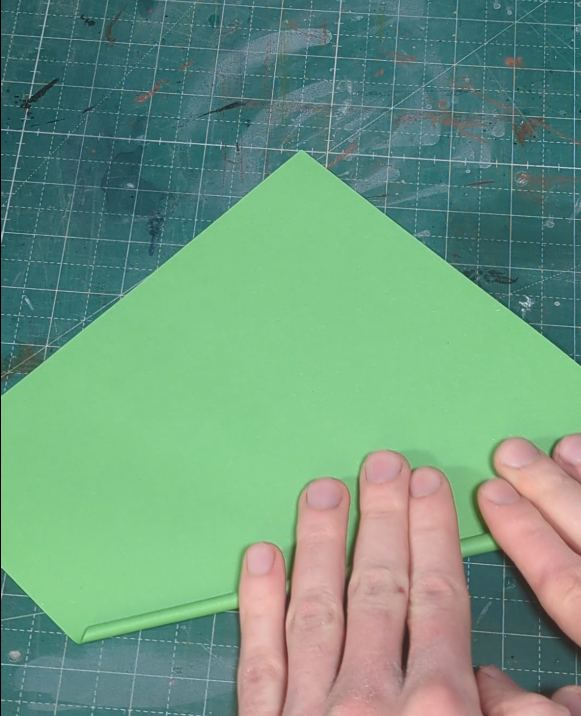
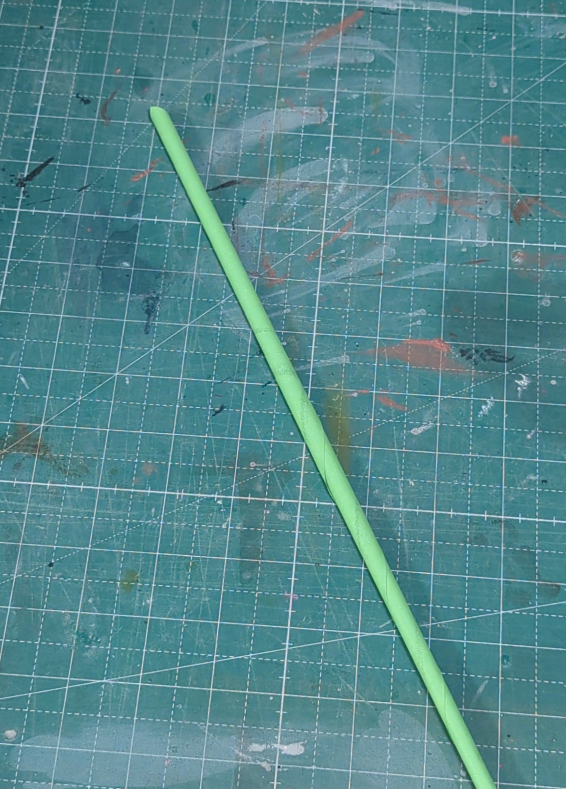
Take a strip of green paper and roll it diagonally from one corner. Rolling on the diagonal makes it strong and slightly tapered.
Step 10 – Secure the Stem

Apply a small amount of glue to the last inch (about 2 cm) of the strip, then finish rolling to secure it.
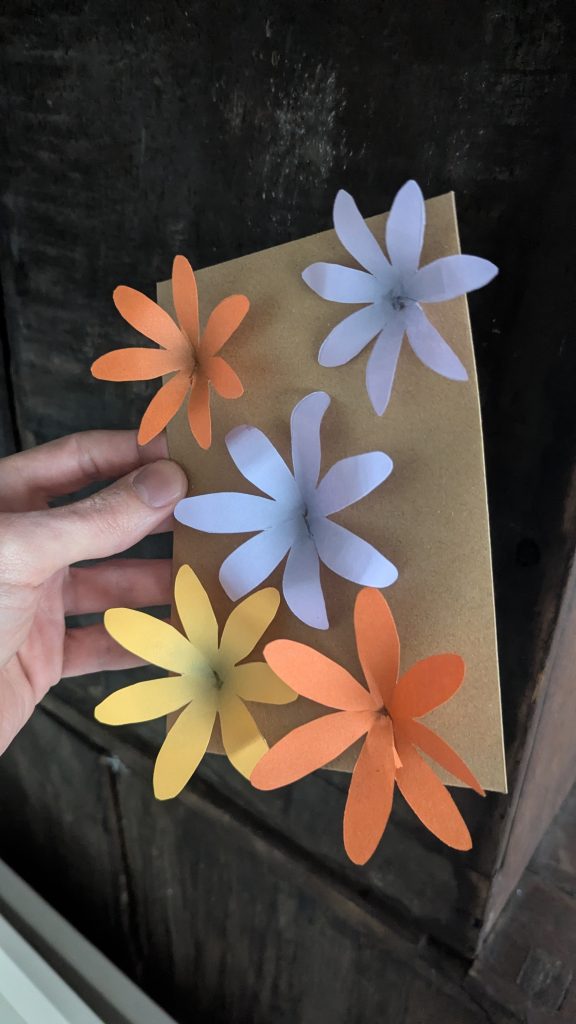
Step 11 – Attach the Flower
Cut the stem to your desired length, then glue the flower to the top. Or, as I did, glue the flowers to a piece of paper or an envelope.
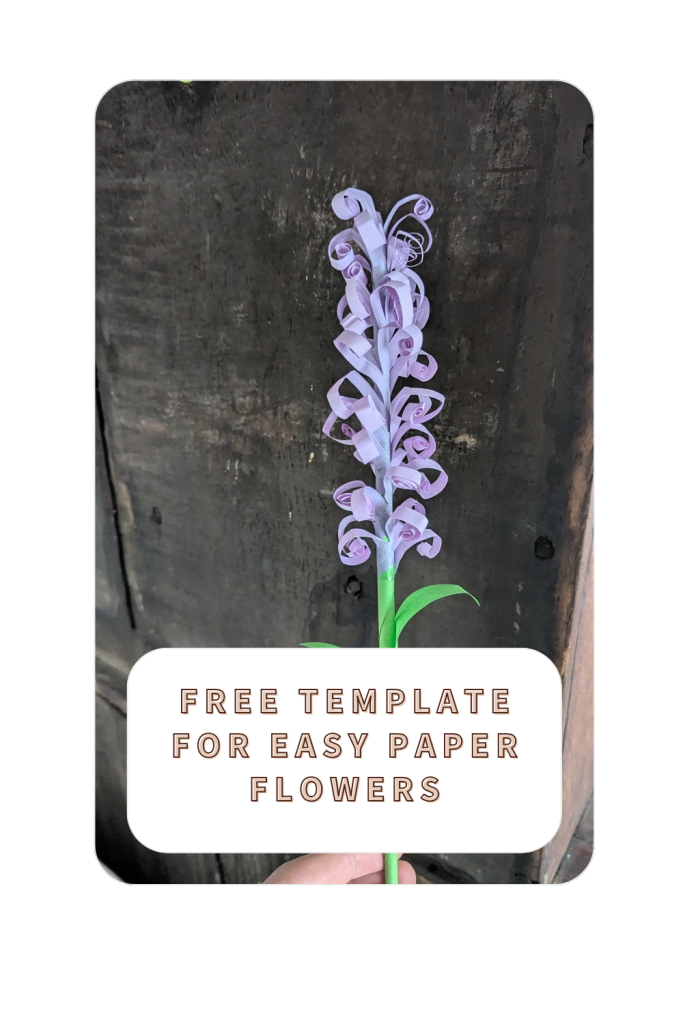
Make a Fun Fuzzy Flower
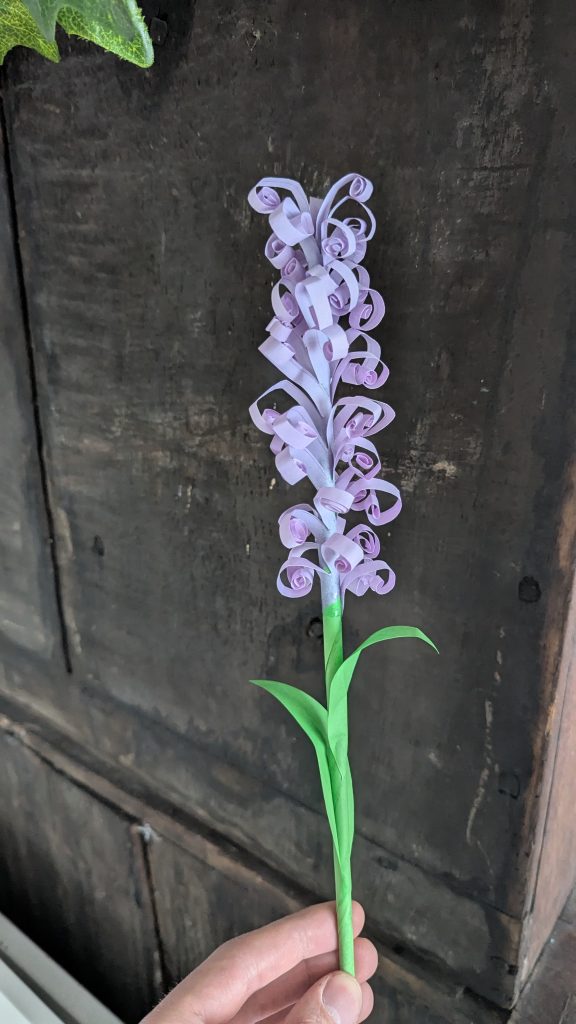
This one always gets the biggest reaction. The moment kids start rolling those little strips and the flower turns fluffy and textured, they love it. It’s also one of the simplest to make .
How to Make it:
Step 1 – Download the Template
Download the template using the button below.
Step 2 – Print
Print the template called “Fun Fuzzy Flower”.
Step 3 – Cut Out the Shape
Cut out the basic outer shape of the flower.
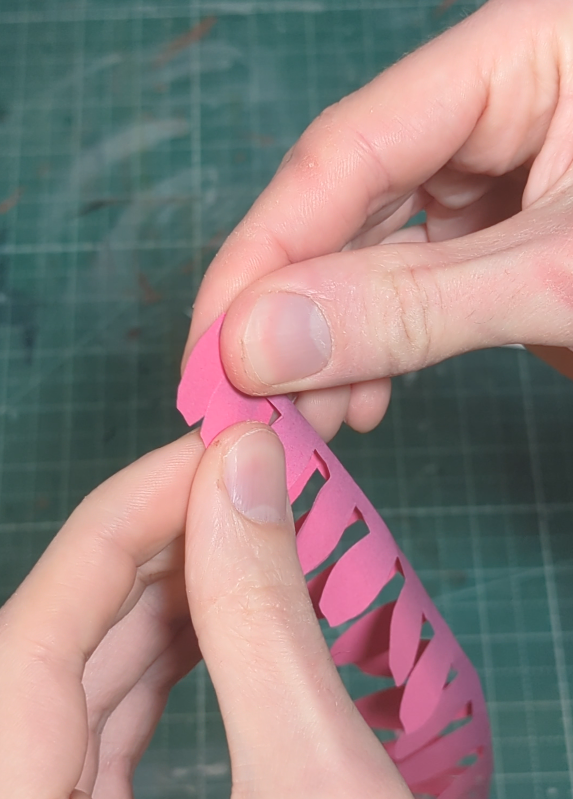
Step 4 – Cut the Strips
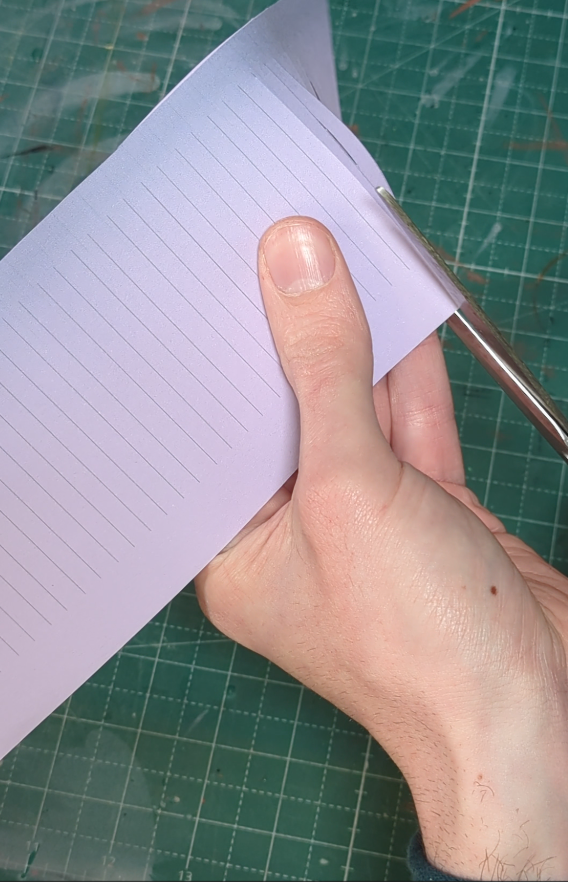
Cut into the shape along every printed line. Each cut creates one of the fuzzy strips.
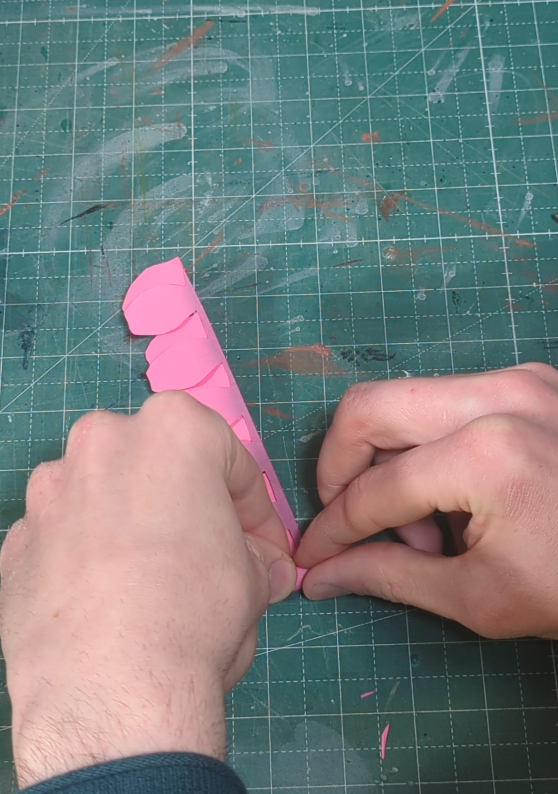
Step 5 – Roll the Strips
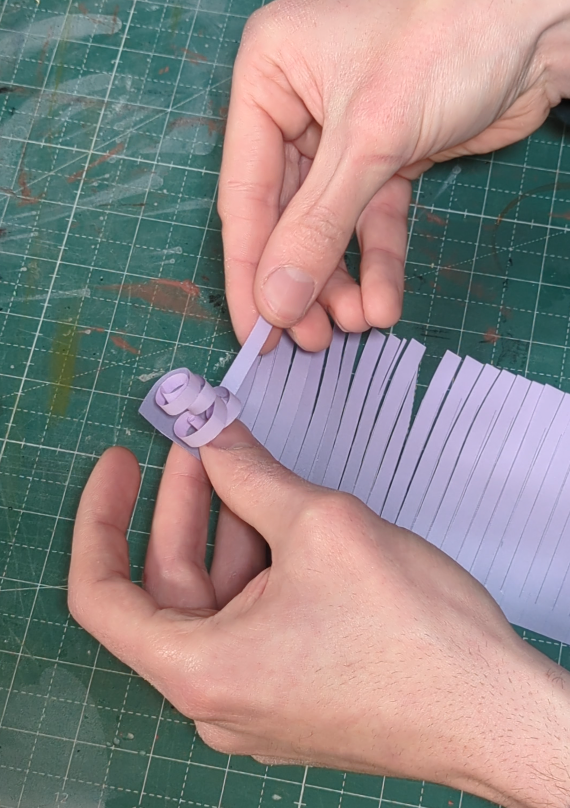
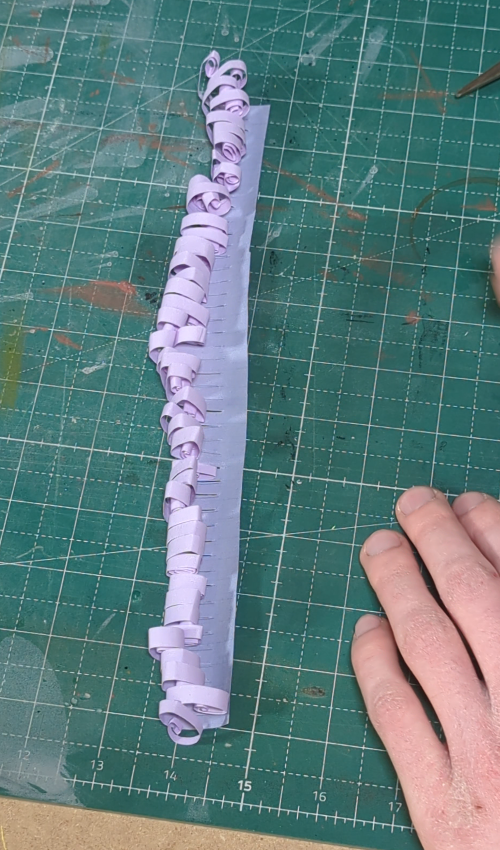
Use a pencil to tightly roll each strip upward from its tip toward the center. Let it spring back slightly for a fluffy look.
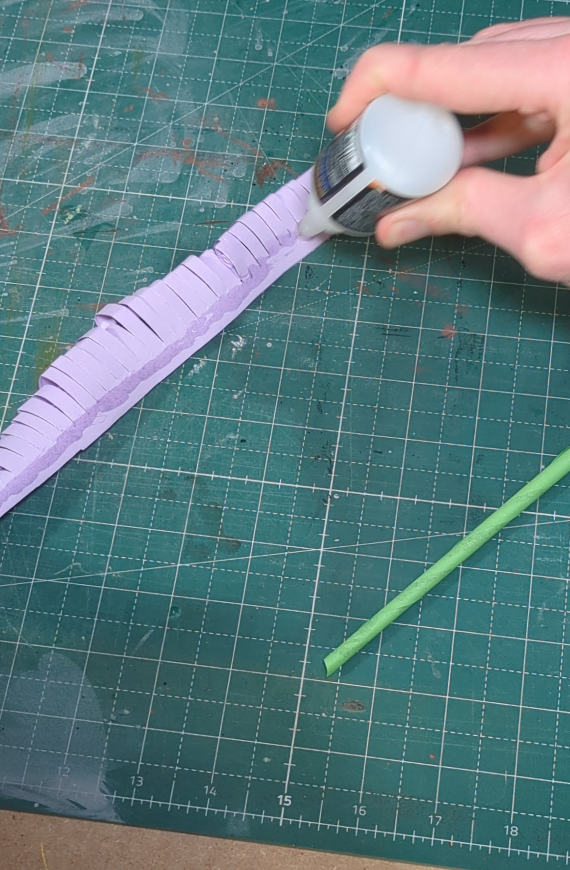
Step 6 – Make the Stem
Follow steps 9–10 from the Very Simple Flower Bouquet section above.
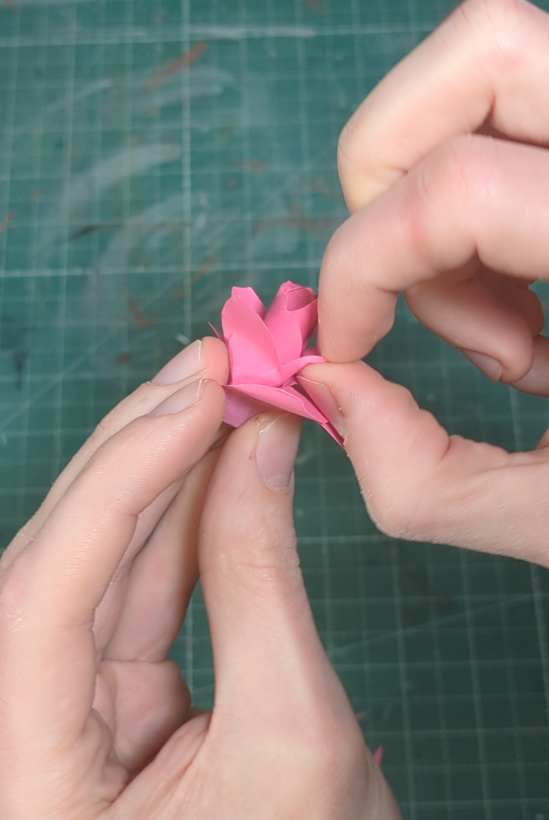
Step 7 – Attach the Flower
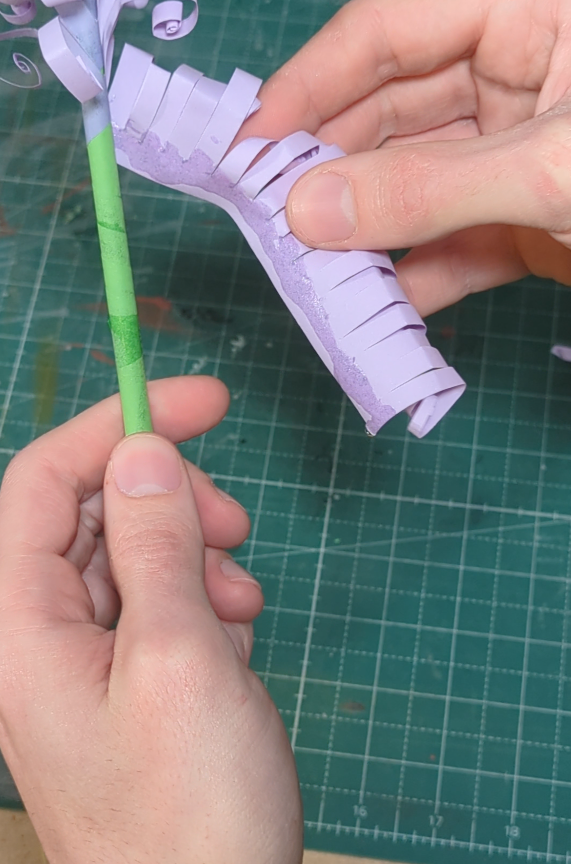
Apply glue to the flat base of the flower, press it onto the top of the stem, and hold for about 30 seconds. The more carefully you roll each strip, the fuller the flower looks.
Step8 – Attach the Leafs
Cut out the leaf shapes. Apply some glue to base and glue them to the flower stem.
These three paper flower crafts for kids are ones we come back to again and again. Download the free templates below and give them a try!